
Black Mantel & Adamantine Clocks
Summary:
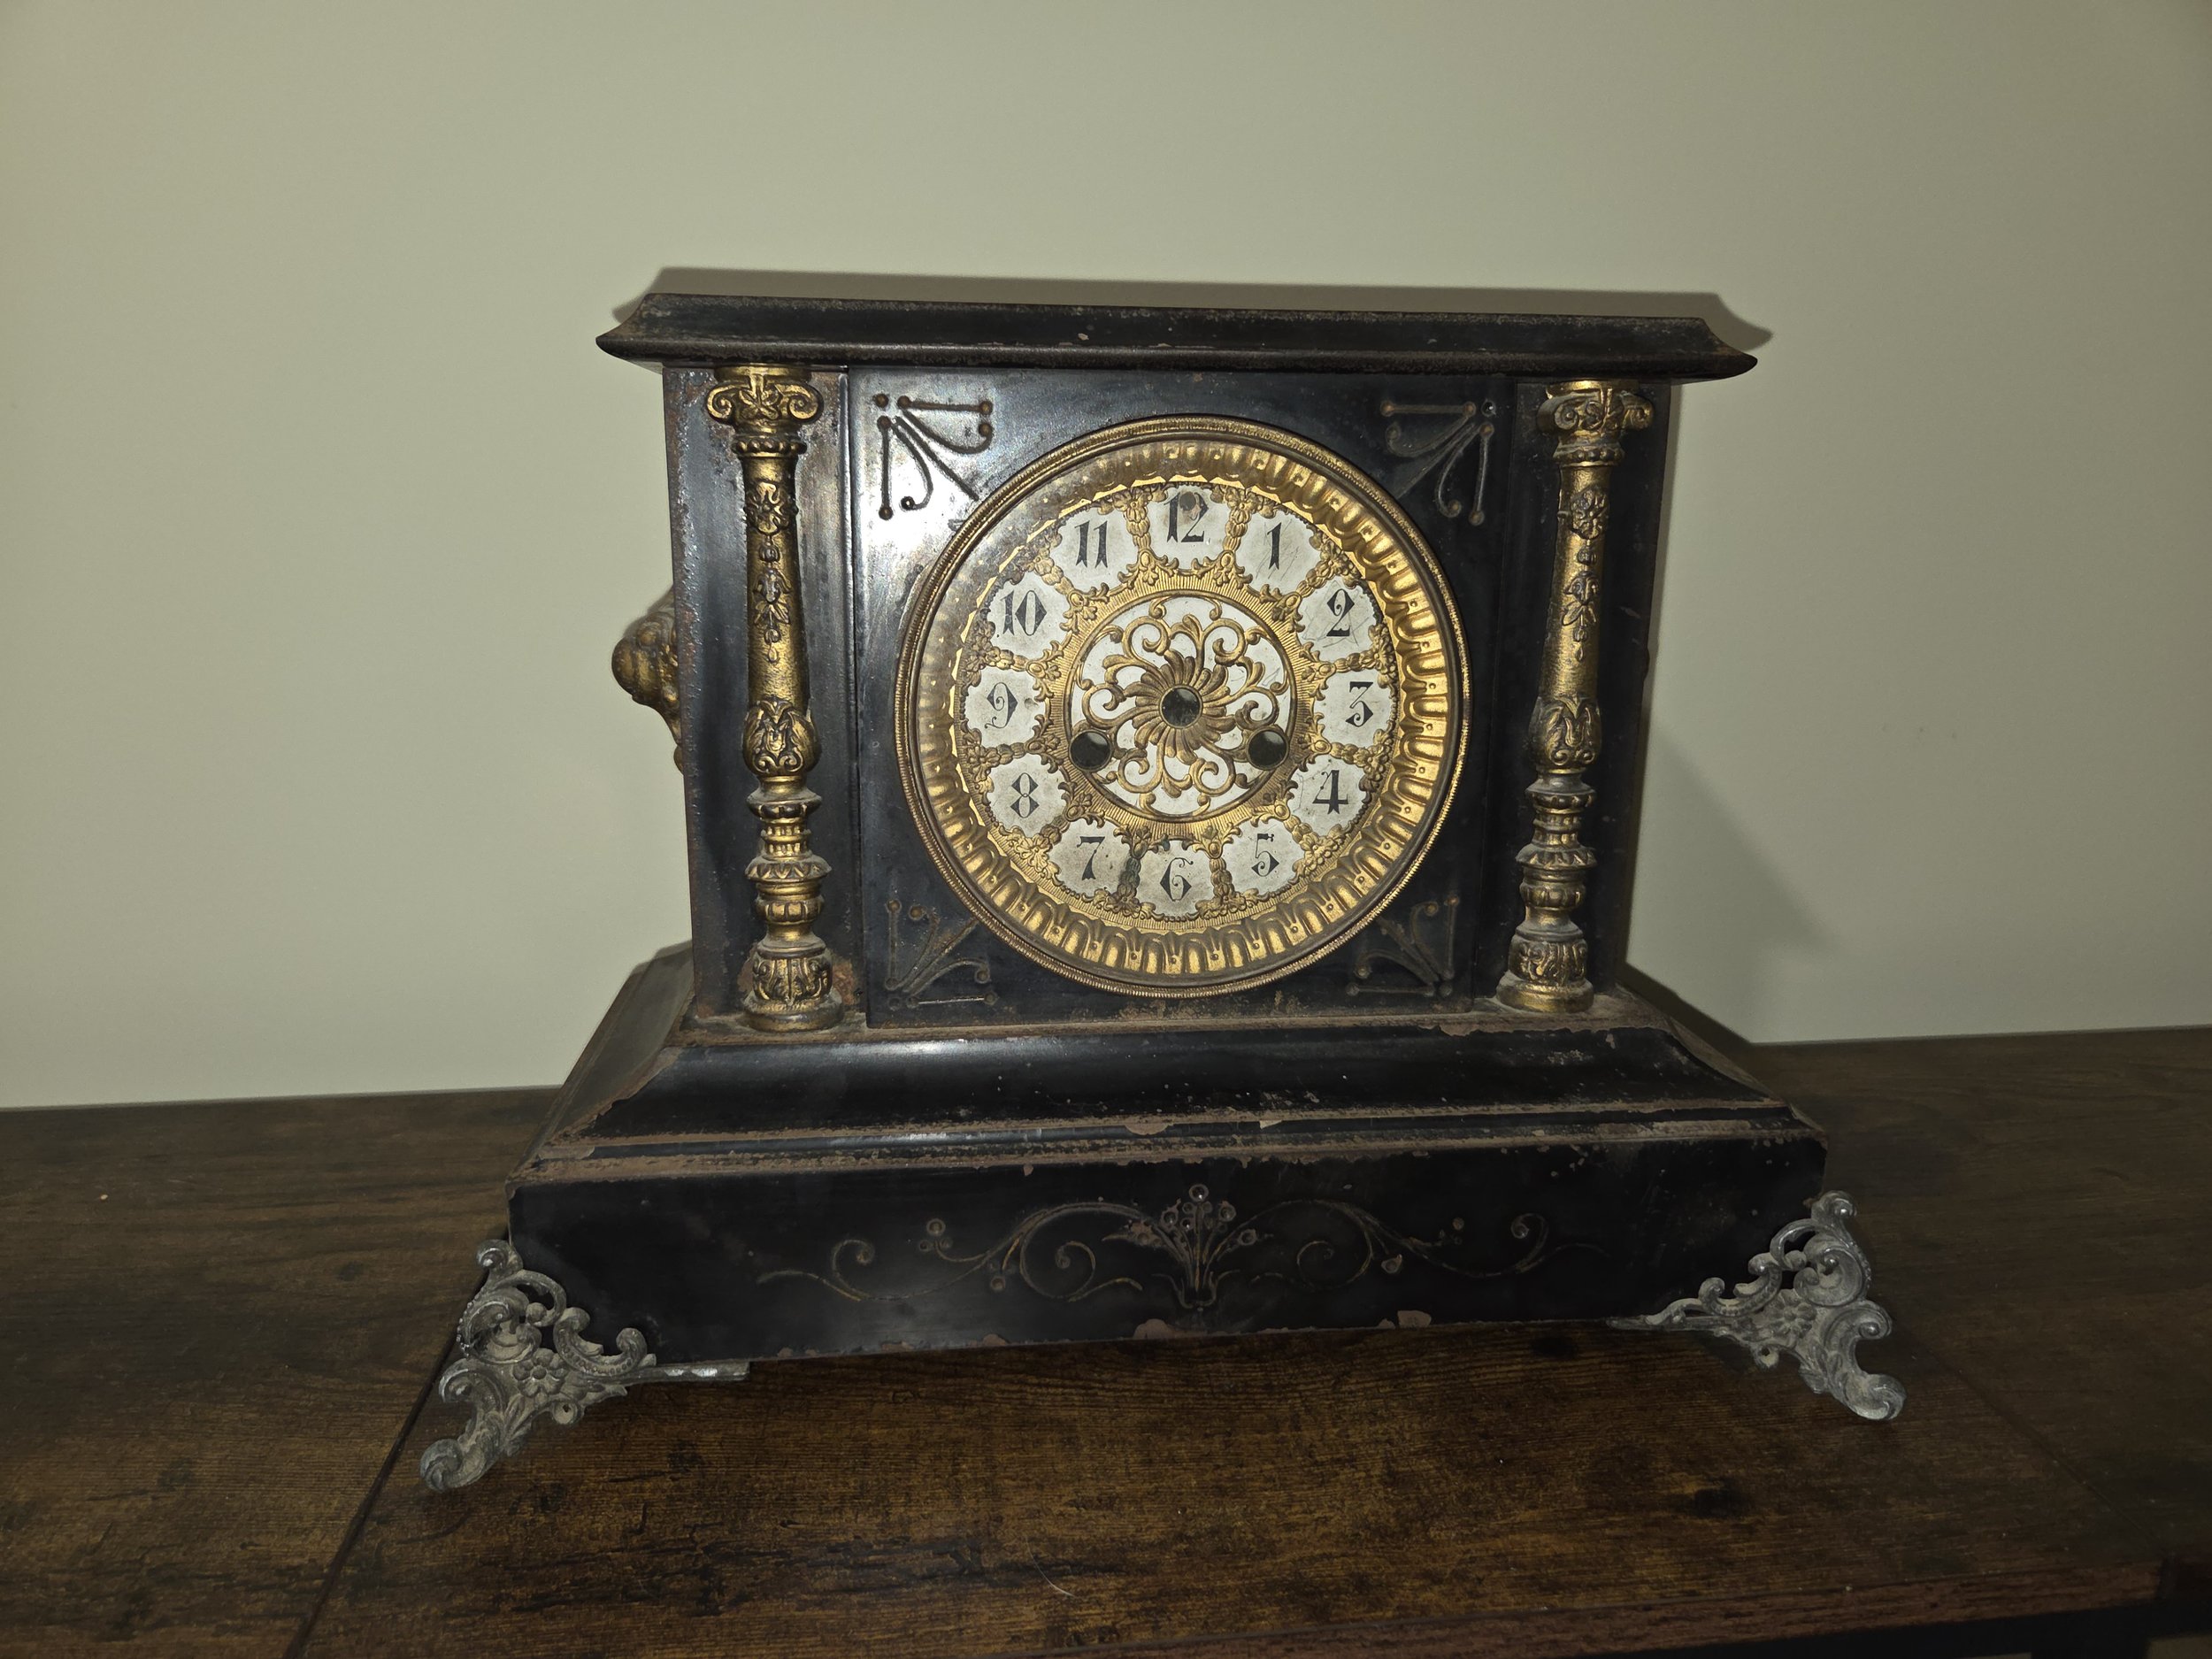
Black mantel clocks—often made from cast iron, wood compositions, or celluloid-based Adamantine finishes—were popular in the late 19th and early 20th centuries. These clocks are known for their bold architectural cases, contrasting column designs, and durable finishes. Adamantine clocks, produced mainly by Seth Thomas, use a patented decorative surface that mimics marble or onyx while offering long-term durability and distinctive color patterns.
Both types share similar mechanical movements and are well-loved for their deep, resonant strike tones and ornate, recognizable appearance.
Key Identifiers:

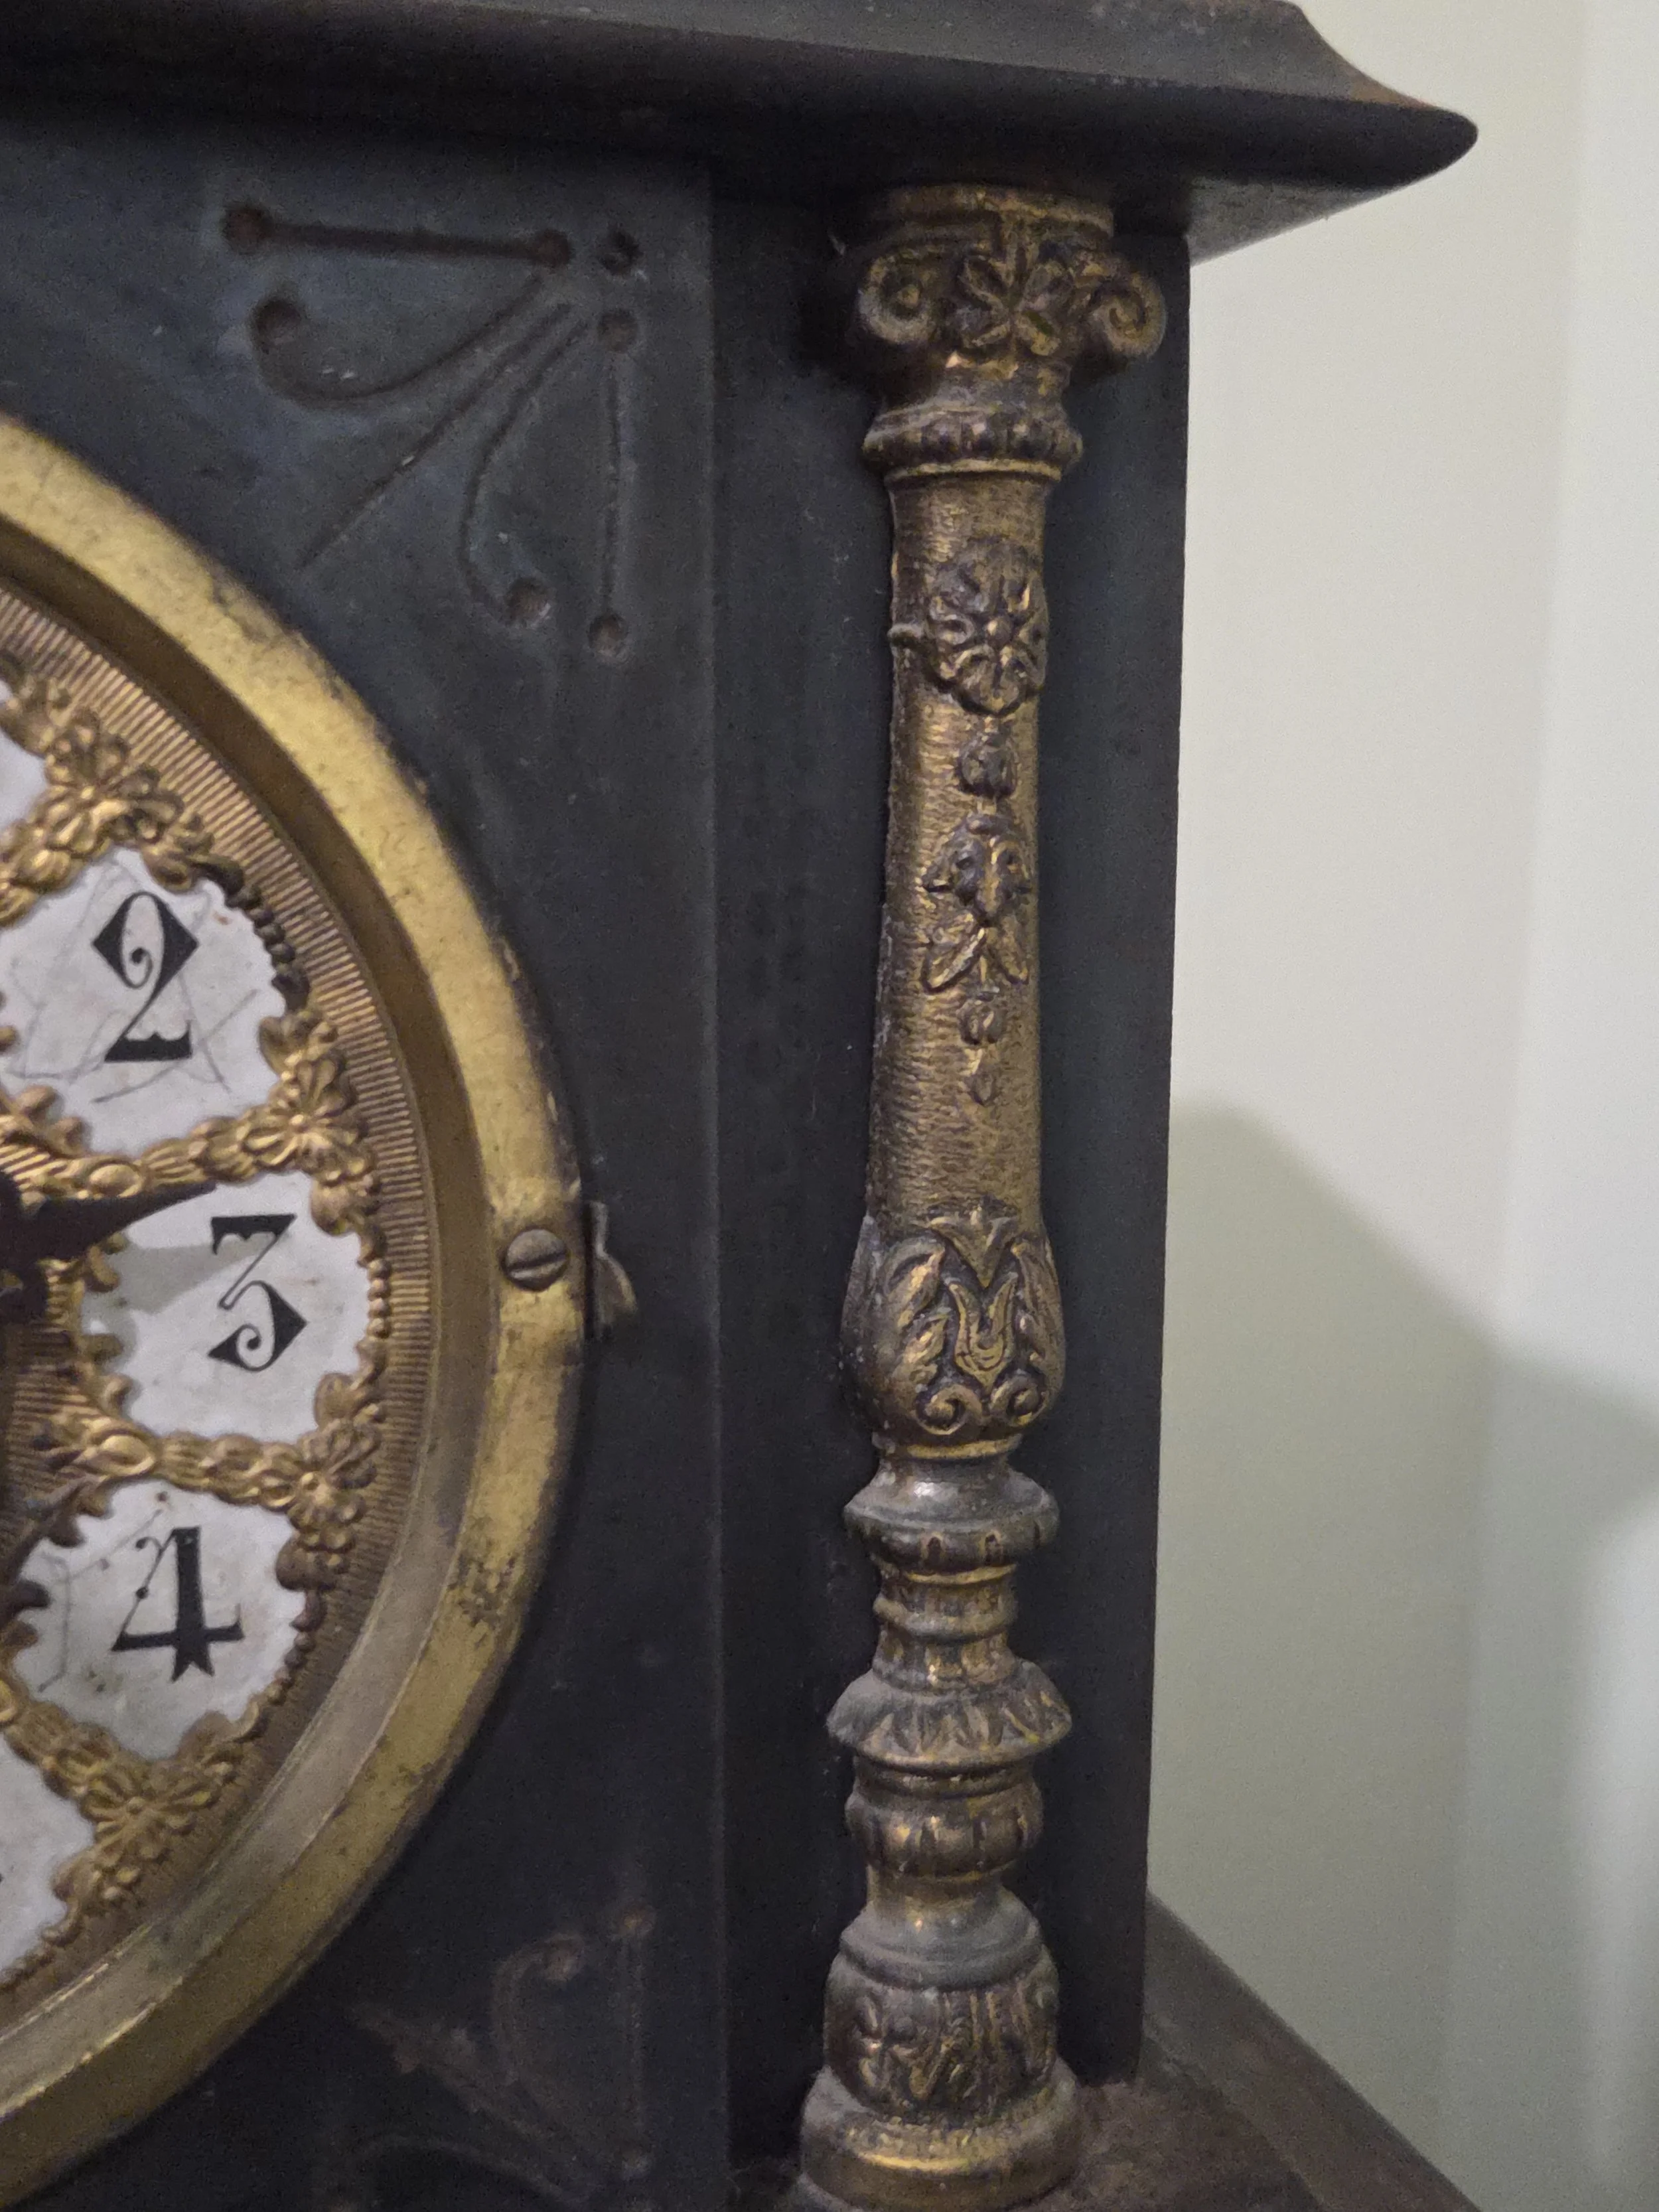
Architectural Case Design
Rectangular bodies with strong, symmetrical lines
Full or half columns on the front (onyx, faux marble, or celluloid-wrapped)
Feet made of cast metal, brass, or decorative composites
Large, bezel-mounted front dials with convex or flat glass
Adamantine finishes may appear in:
Black
Green, red, or brown marbled patterns
Faux onyx or stone veining
Mechanical Movement Type
8-day, spring-driven movements
Time and strike, often on a coil gong
Some variations with dual chime rods or bim-bam strike systems
Steel or brass plates with rear access via a removable back panel

Pendulum Regulation
Most use a rear-access pendulum bob:
Suspension spring at the top of the movement
Adjustable rating nut beneath the bob for speed regulation
Some models use a F/S adjustment arbor accessible from the dial.

Gong and Strike Assembly
Coiled steel gong mounted to the rear case board
Distinctive deep, resonant “bong” tone each hour
Half-hour single strike
Chime volume depends on case resonance and gong placement.
Operational Guide:
Placement & Leveling
Proper setup ensures even beat and reliable strike.
Place on a solid, stable surface
Level the case front-to-back and side-to-side
Listen for an even tick–tock; adjust leveling slightly to either side until the beat sounds even.
These clocks are very sensitive to leveling due to shorter pendulum lengths.
Step 1:
Starting the Clock
Remove the back panel
Attach the pendulum to the suspension leader
Swing gently to start; ensure pendulum clears the case floor and gong.
Step 2:
Winding
Adamantine clocks typically have two winding arbors, generally strike on the left and time on the right:
Insert the key fully
Turn slowly and steadily
Stop when resistance increases
Wind both arbors fully once per week
Never force a key that resists turning
Step 3:
Setting the Time
Move the minute hand forward
Stop at each half-hour and hour to allow the strike to complete
Never force the hands backward
The hour hand will move automatically.
Step 4:
Strike Operation
Strike once on the half hour
Strike full hour count on the hour
Use a hammer that hits the coil gong mounted at the back of the case
Step 5:
Regulating Timekeeping
Pendulum Bob Adjustment
Lower bob: Slow the clock
Raise bob: Speed the clock
Make adjustments in small increments and allow a full day to evaluate performance.
Dial-Based Fast/Slow Adjustment
Some models include a regulator arbor behind the dial:
Insert a small key and turn toward F to speed up
Turn toward S to slow down
This adjusts the pendulum length internally.
Step 6:
Routine Maintenance
Case & Finish
Dust regularly with a soft cloth
Use a mild, non-abrasive cleaner only on Adamantine surfaces
Avoid heavy polishing or oil-based conditioners
Movement Care
Have the clock professionally cleaned and oiled every 5–10 years
Keep the movement dust-free by keeping the rear panel closed
Avoid exposing the clock to humidity or direct sunlight
Handling & Transport
Remove pendulum before moving
Secure the gong and ensure no loose parts inside
Carry from the base, not the columns or top surfaces