
Gallery & Office Wall Clocks
Summary:
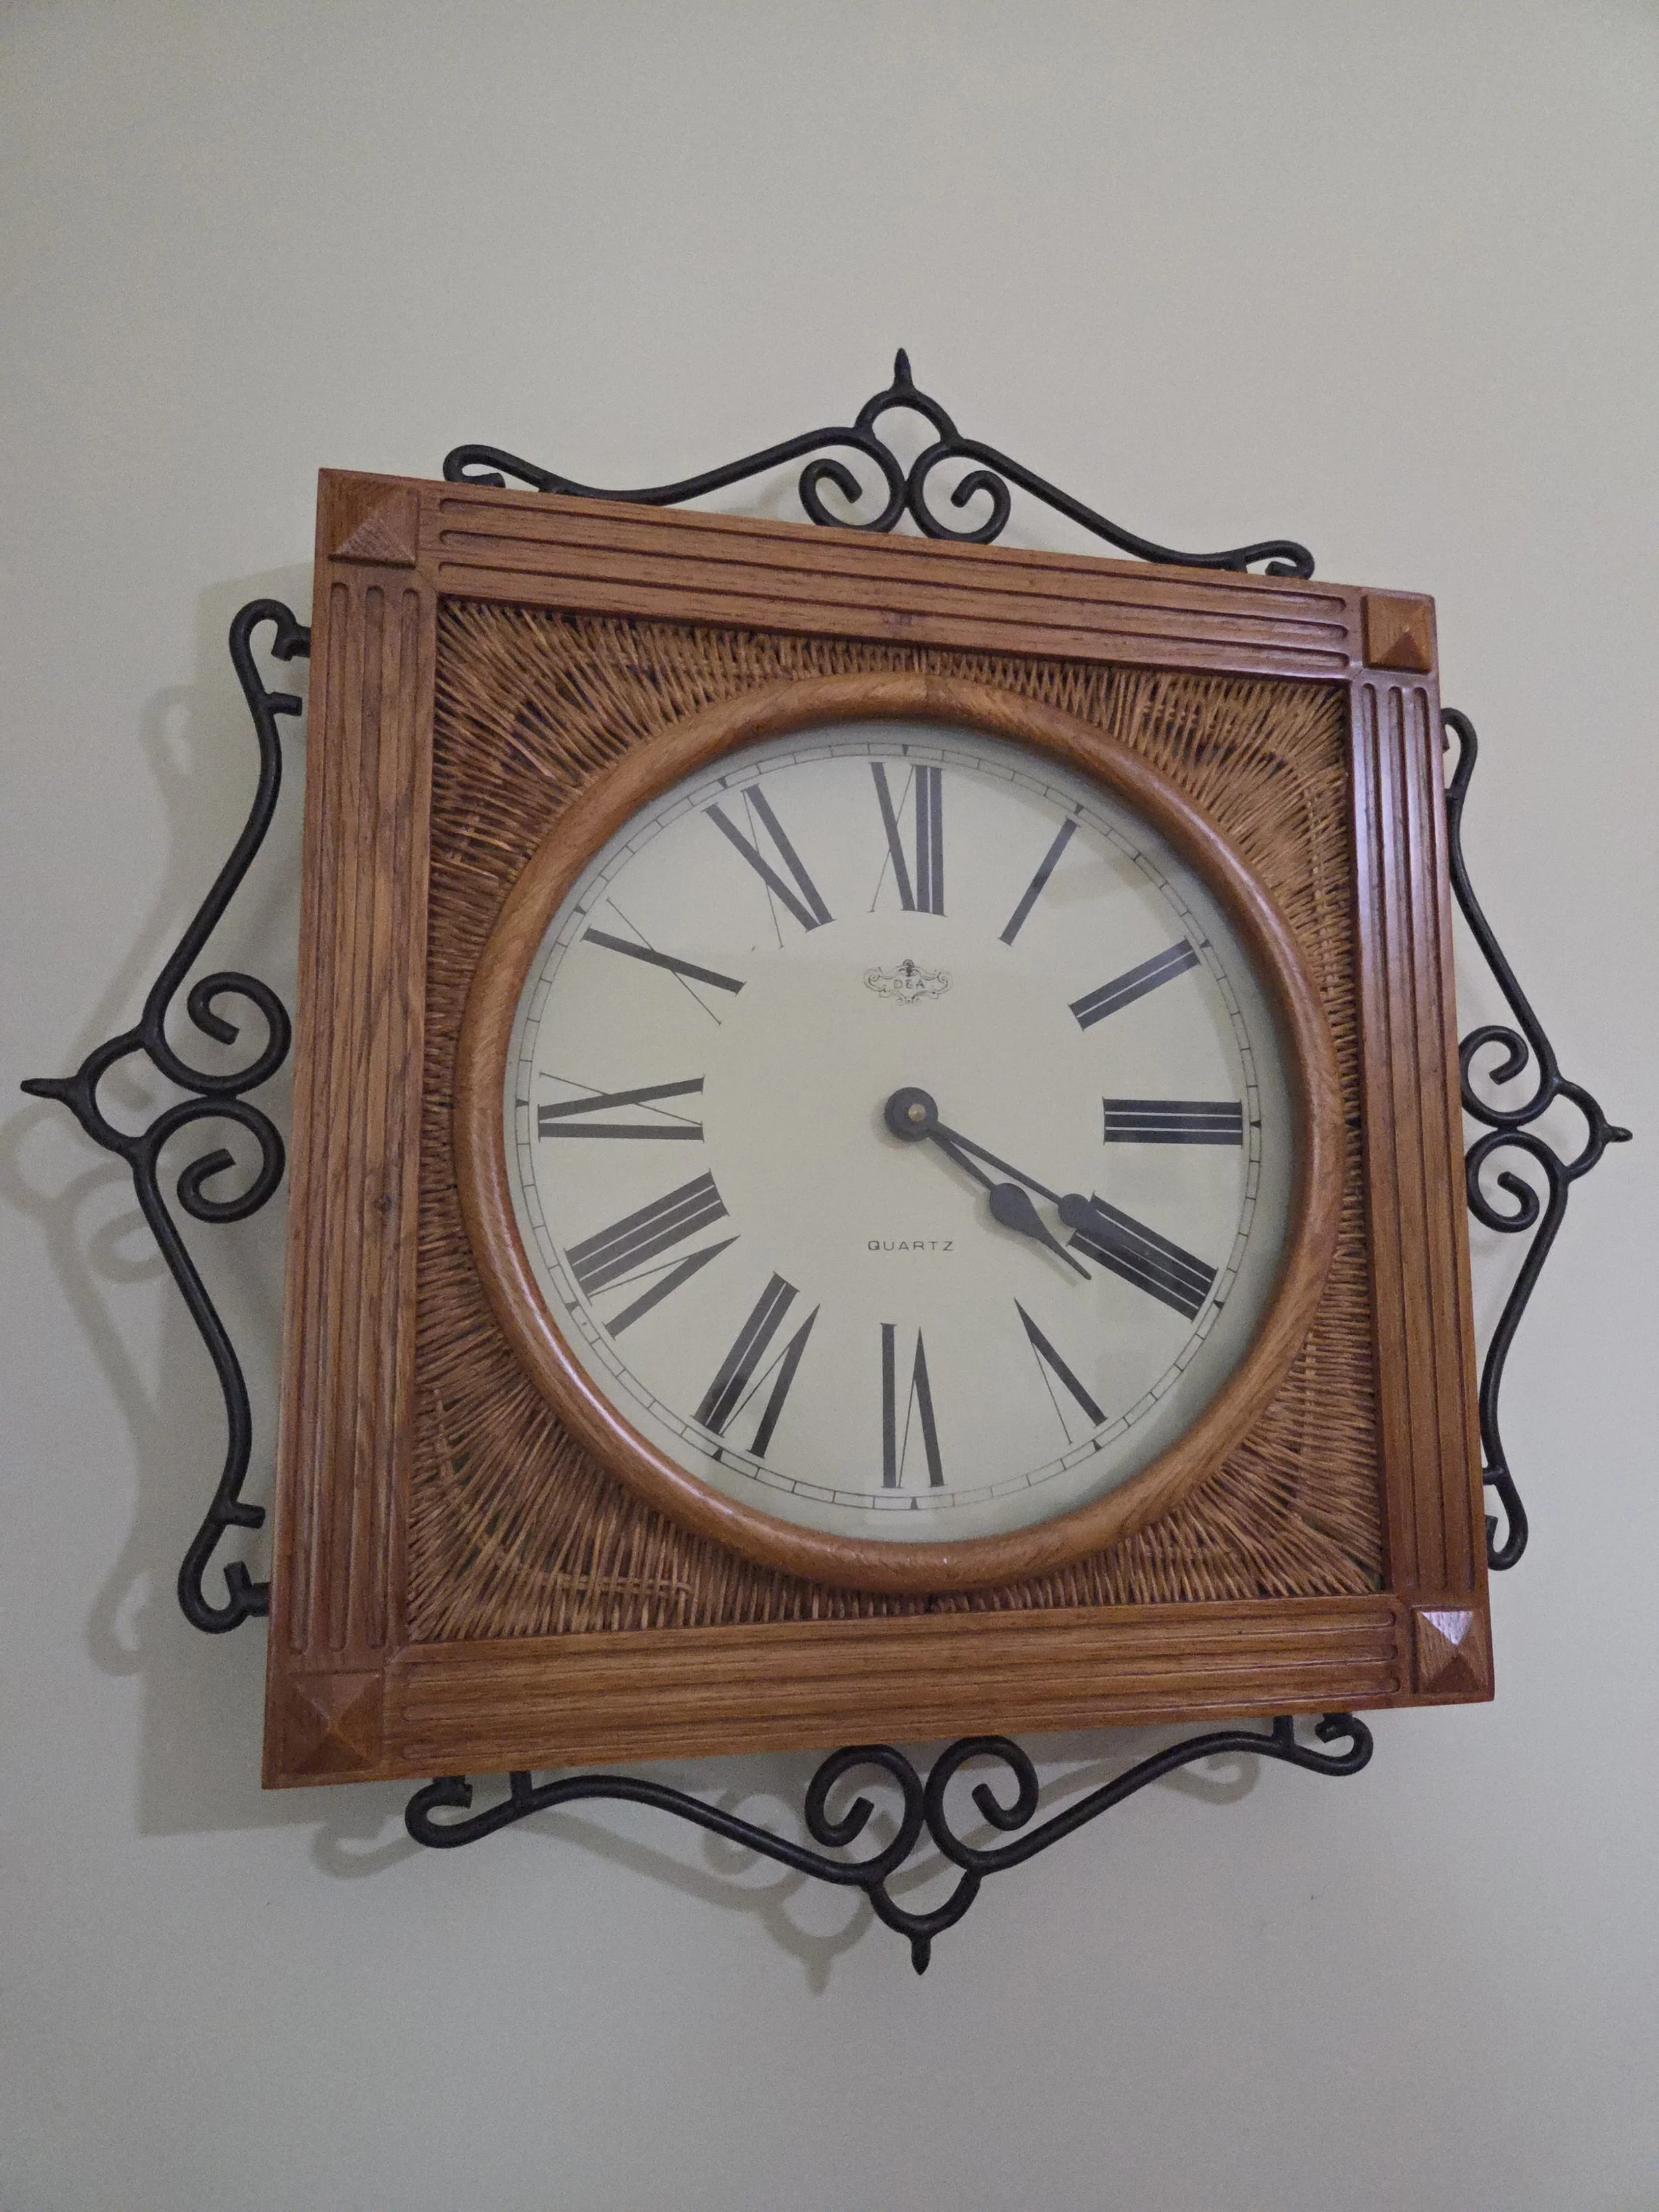
Gallery and office wall clocks are large-dial timepieces designed for maximum visibility in public areas, workplaces, schools, factories, and stations. Typically simple, robust, and highly legible, these clocks use dependable mechanical or electric movements housed in wide, round cases. Their clear design and reliable operation made them standard fixtures across the 19th and 20th centuries—and they continue to serve as functional décor today.

Key Identifiers:

Large Round Case
Gallery/office clocks commonly feature:
A wide circular wooden or metal case
Hinged or removable bezel with glass lens
Painted, stained, or enameled finishes
Simple, utilitarian construction for durability
Sizes often range from 12" to 24" in diameter, with some industrial clocks even larger.
Highly Legible Dial
A primary characteristic:
Bold Arabic or Roman numerals
Large minute tick marks
Black-on-white or white-on-black contrast for easy reading
Paper, enamel, or metal dials depending on the era
Designed to be read from across a room or hallway.

Mechanical or Electric Movements
Gallery clocks may use:
8-day spring-driven movements (common in early models)
Weight-driven commercial movements (less common)
Electric synchronous motor movements (mid-1900s onward)
Quartz movements in modern reproductions
Electric versions typically include a simple plug-in cord or hardwire connections.

Simple Time-Only Operation
Most gallery clocks:
Do not strike or chime
Are time-only, prioritizing accuracy and clarity
This allowed them to run quietly in office environments.
Operational Guide:
Mounting the Clock
Proper mounting ensures accurate and safe operation.
Install on a sturdy wall stud or high-quality anchor
Support the clock’s weight evenly
Ensure the case hangs level on both axes
Avoid placing above heating vents or in direct sunlight
Large clocks require especially secure mounting.
Step 1:
Leveling
Mechanical gallery clocks may stop or drift if not level.
Use a bubble level to check vertical and horizontal alignment
Adjust until the beat sounds evenly (for pendulum-equipped versions)
Quartz and electric clocks are less sensitive but still benefit from proper leveling.
Step 2:
Installing the Pendulum (If Equipped)
Some older gallery models include a small pendulum:
Open the rear access panel
Attach pendulum to the suspension leader
Ensure there is unobstructed swing clearance
Confirm the pendulum does not rub against the backboard
Pendulum-equipped gallery clocks behave similarly to schoolhouse or regulator clocks.
Step 3:
Winding (Mechanical Models)
If your clock is spring-driven:
Locate the winding arbor(s) through the front dial
Insert key fully
Turn smoothly until resistance increases
Wind fully every 7–8 days
Do not force the mainspring
Most gallery clocks are time-only, so they have one arbor.
Step 4:
Electrical Operation (Electric Models)
For synchronous motor clocks:
Plug into a stable outlet or verify hardwired connection
If power is interrupted, the clock must be reset
Running sound may include a soft hum or faint motor noise
For quartz models:
Insert fresh alkaline batteries
Replace annually for consistent accuracy
Step 5:
Setting the Time
Mechanical Clocks
Turn the minute hand forward only
Never force the hands backward
Hour hand will follow automatically
Electric & Quartz Clocks
Turn setting knob or rotate minute hand
Do not move hands counterclockwise unless allowed by the movement
Gallery clocks typically have no chime sequences to worry about.
Step 6:
Regulating the Time
Mechanical Pendulum Models
Adjust the pendulum bob:
Raise bob → Speed up
Lower bob → Slow down
Make small adjustments and monitor daily accuracy
Regulation Arbors
Some clocks include a dial or rear-mounted F/S screw:
Turn toward F to speed
Turn toward S to slow
Electric & Quartz Models
Quartz clocks rarely need regulation
Some may include a small +/- wheel for fine adjustment
Step 7:
Routine Maintenance
Case & Dial Care
Dust wooden or metal cases regularly
Clean glass with ammonia-free cleaner
Avoid excessive moisture or heat
Keep paper dials dry and free from abrasion
Mechanical Movement Care
Professional cleaning/oiling every 5–10 years
Keep movement free from dust by closing bezel properly
Avoid DIY lubrication
Electric Movement Care
Replace worn cords on vintage clocks
Ensure synchronous motors operate quietly and smoothly
Have motors serviced rather than lubricating yourself
Handling & Transport
Remove pendulum (if present) before moving
Secure bezel and glass
Transport upright to prevent dial or movement shift