
Kitchen & “Gingerbread” Clocks
Summary:
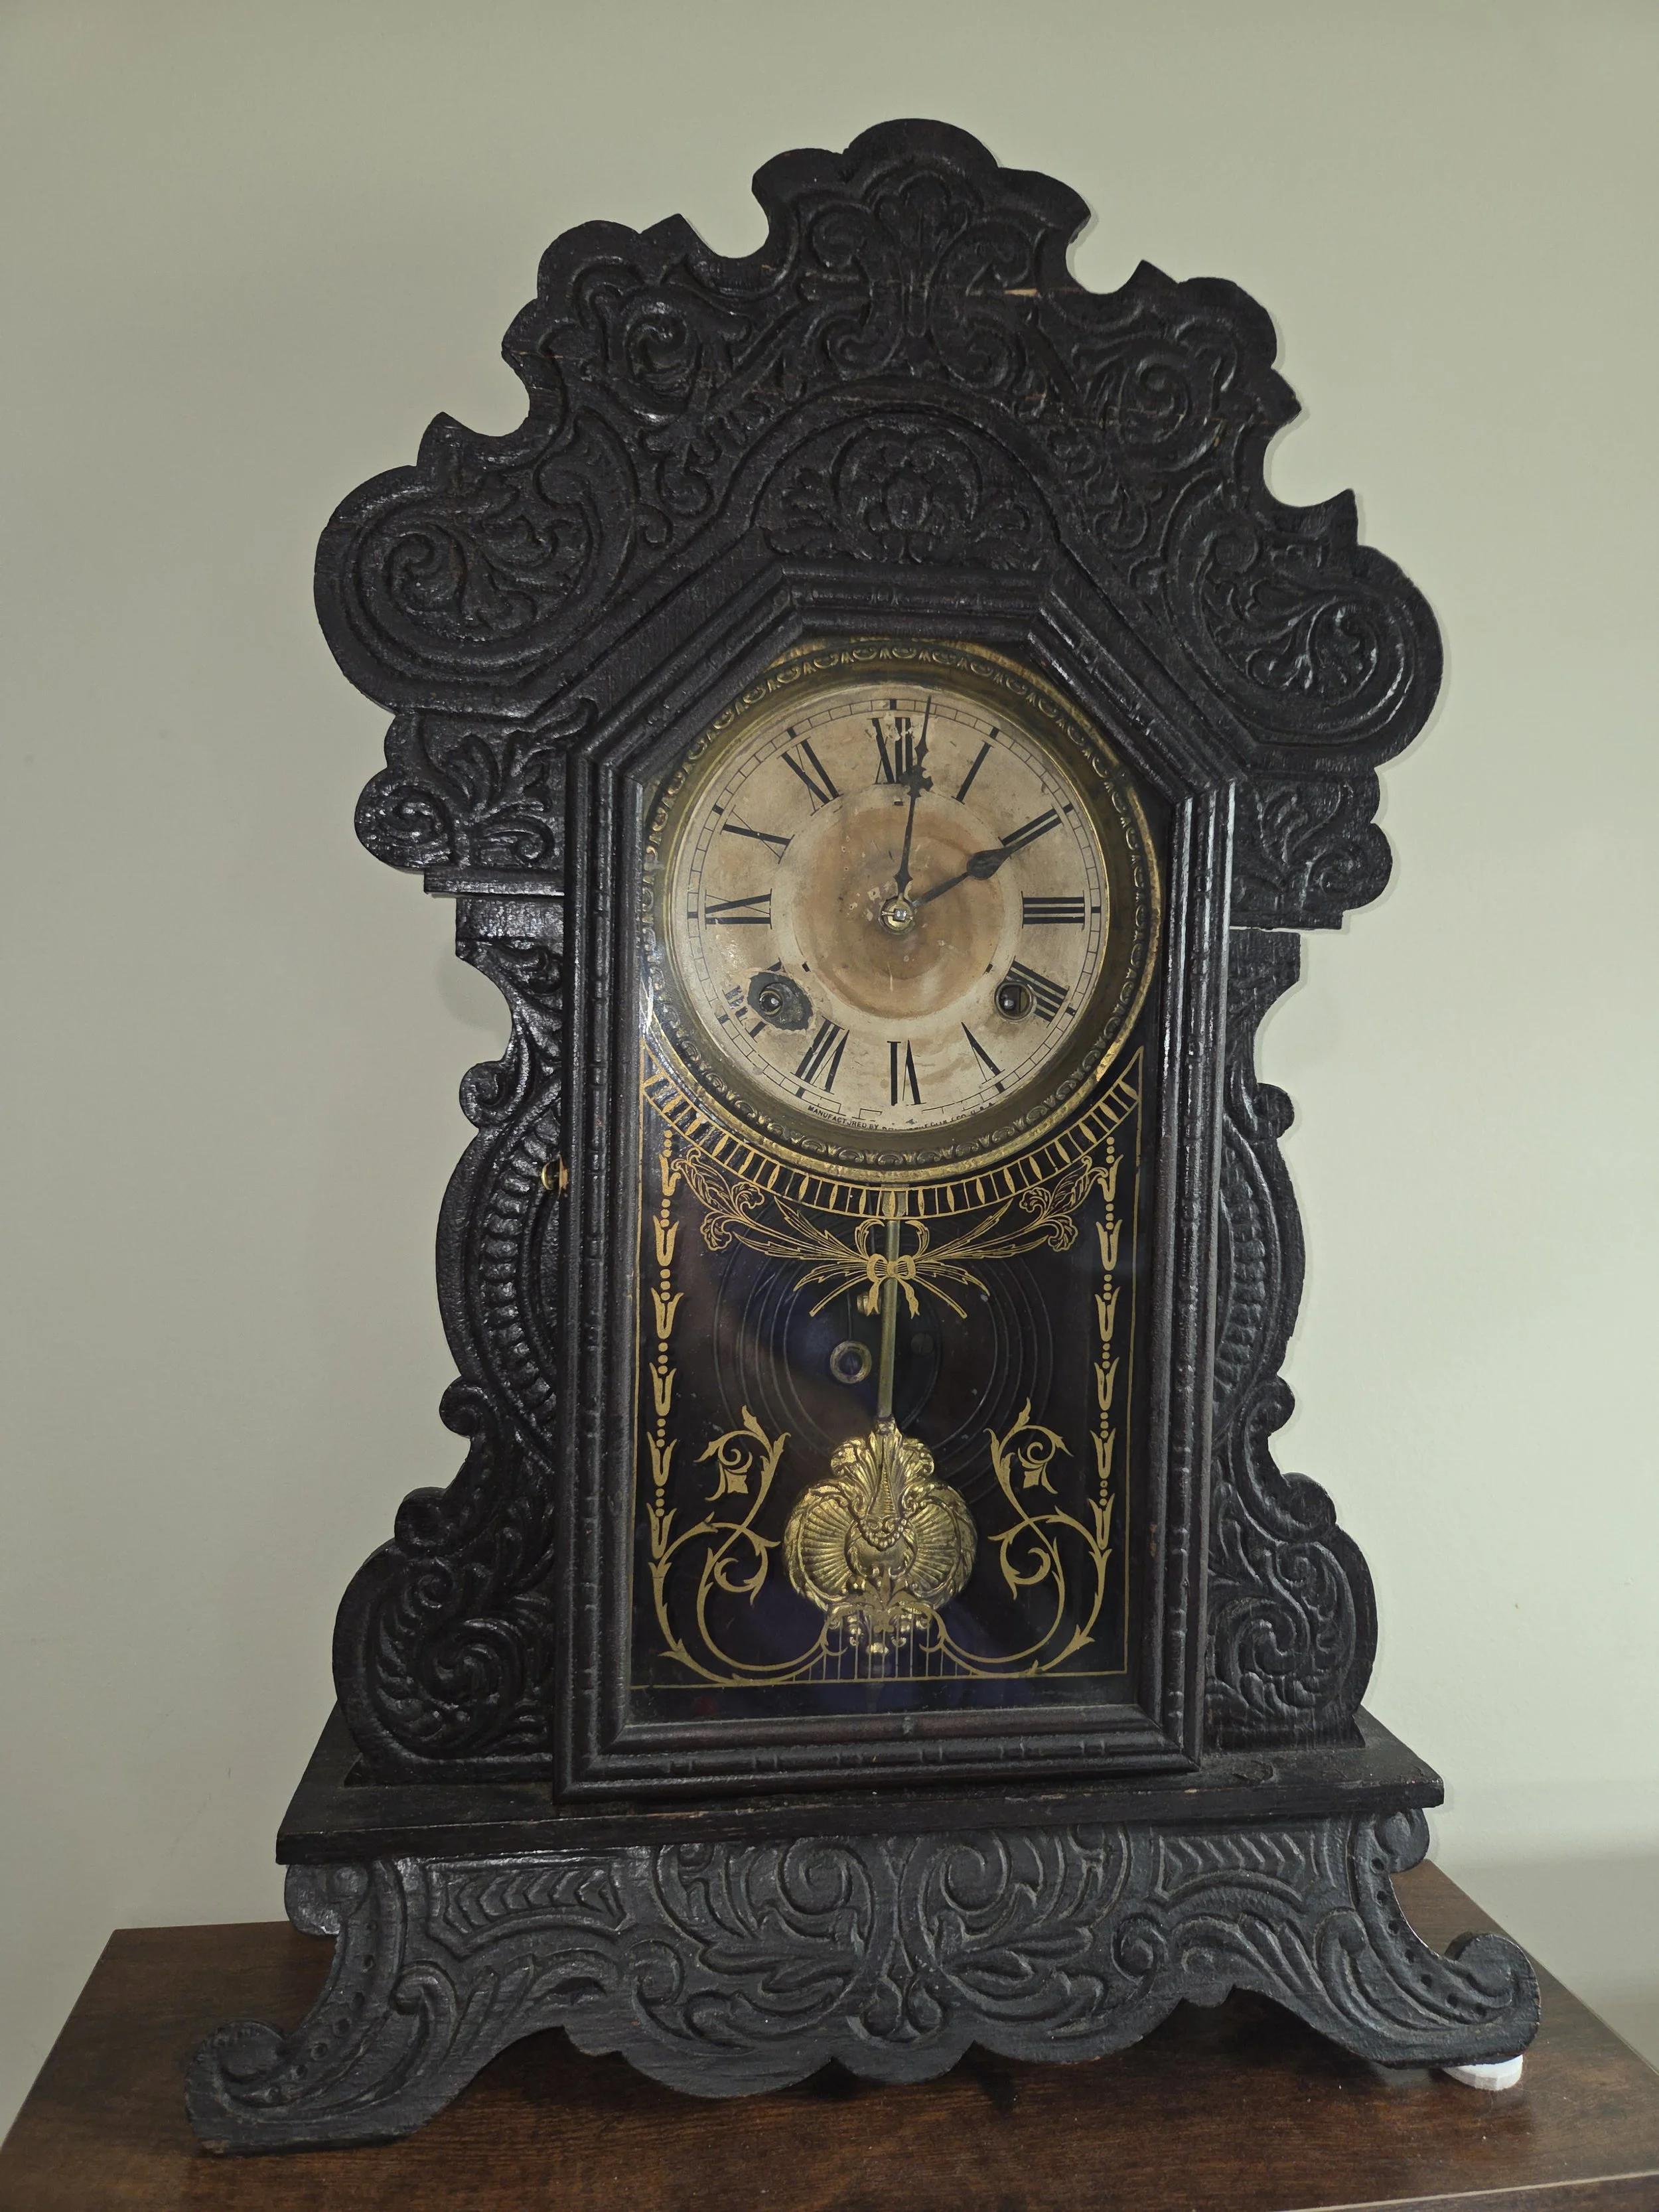
Kitchen clocks are essentially pressed-wood variations of the same upright, shelf-style clock form used in parlor clocks. They share the same mechanical layouts and general silhouette but are identified by their embossed, scroll-sawn, or gingerbread-style wooden fronts, making them more decorative and rustic. While visually busier, kitchen clocks function much like parlor clocks and differ mainly in case construction and stylistic intent.

Key Identifiers:

Highly Ornamental Pressed-Wood Cases
Upright shelf-style clocks similar in form to parlor clocks
Elaborate pressed-wood fronts with scrollwork, floral motifs, fans, and foliate patterns
Distinctive “gingerbread” Victorian decorative style
Common woods: oak, walnut, or stained softwood panels pressed to imitate finer hardwoods
8-Day Mechanical Movements
Standard 8-day, spring-driven movements
Time-and-strike functionality
Hammer striking a coil gong on hour and half-hour
Simple, sturdy movements that are easy to service
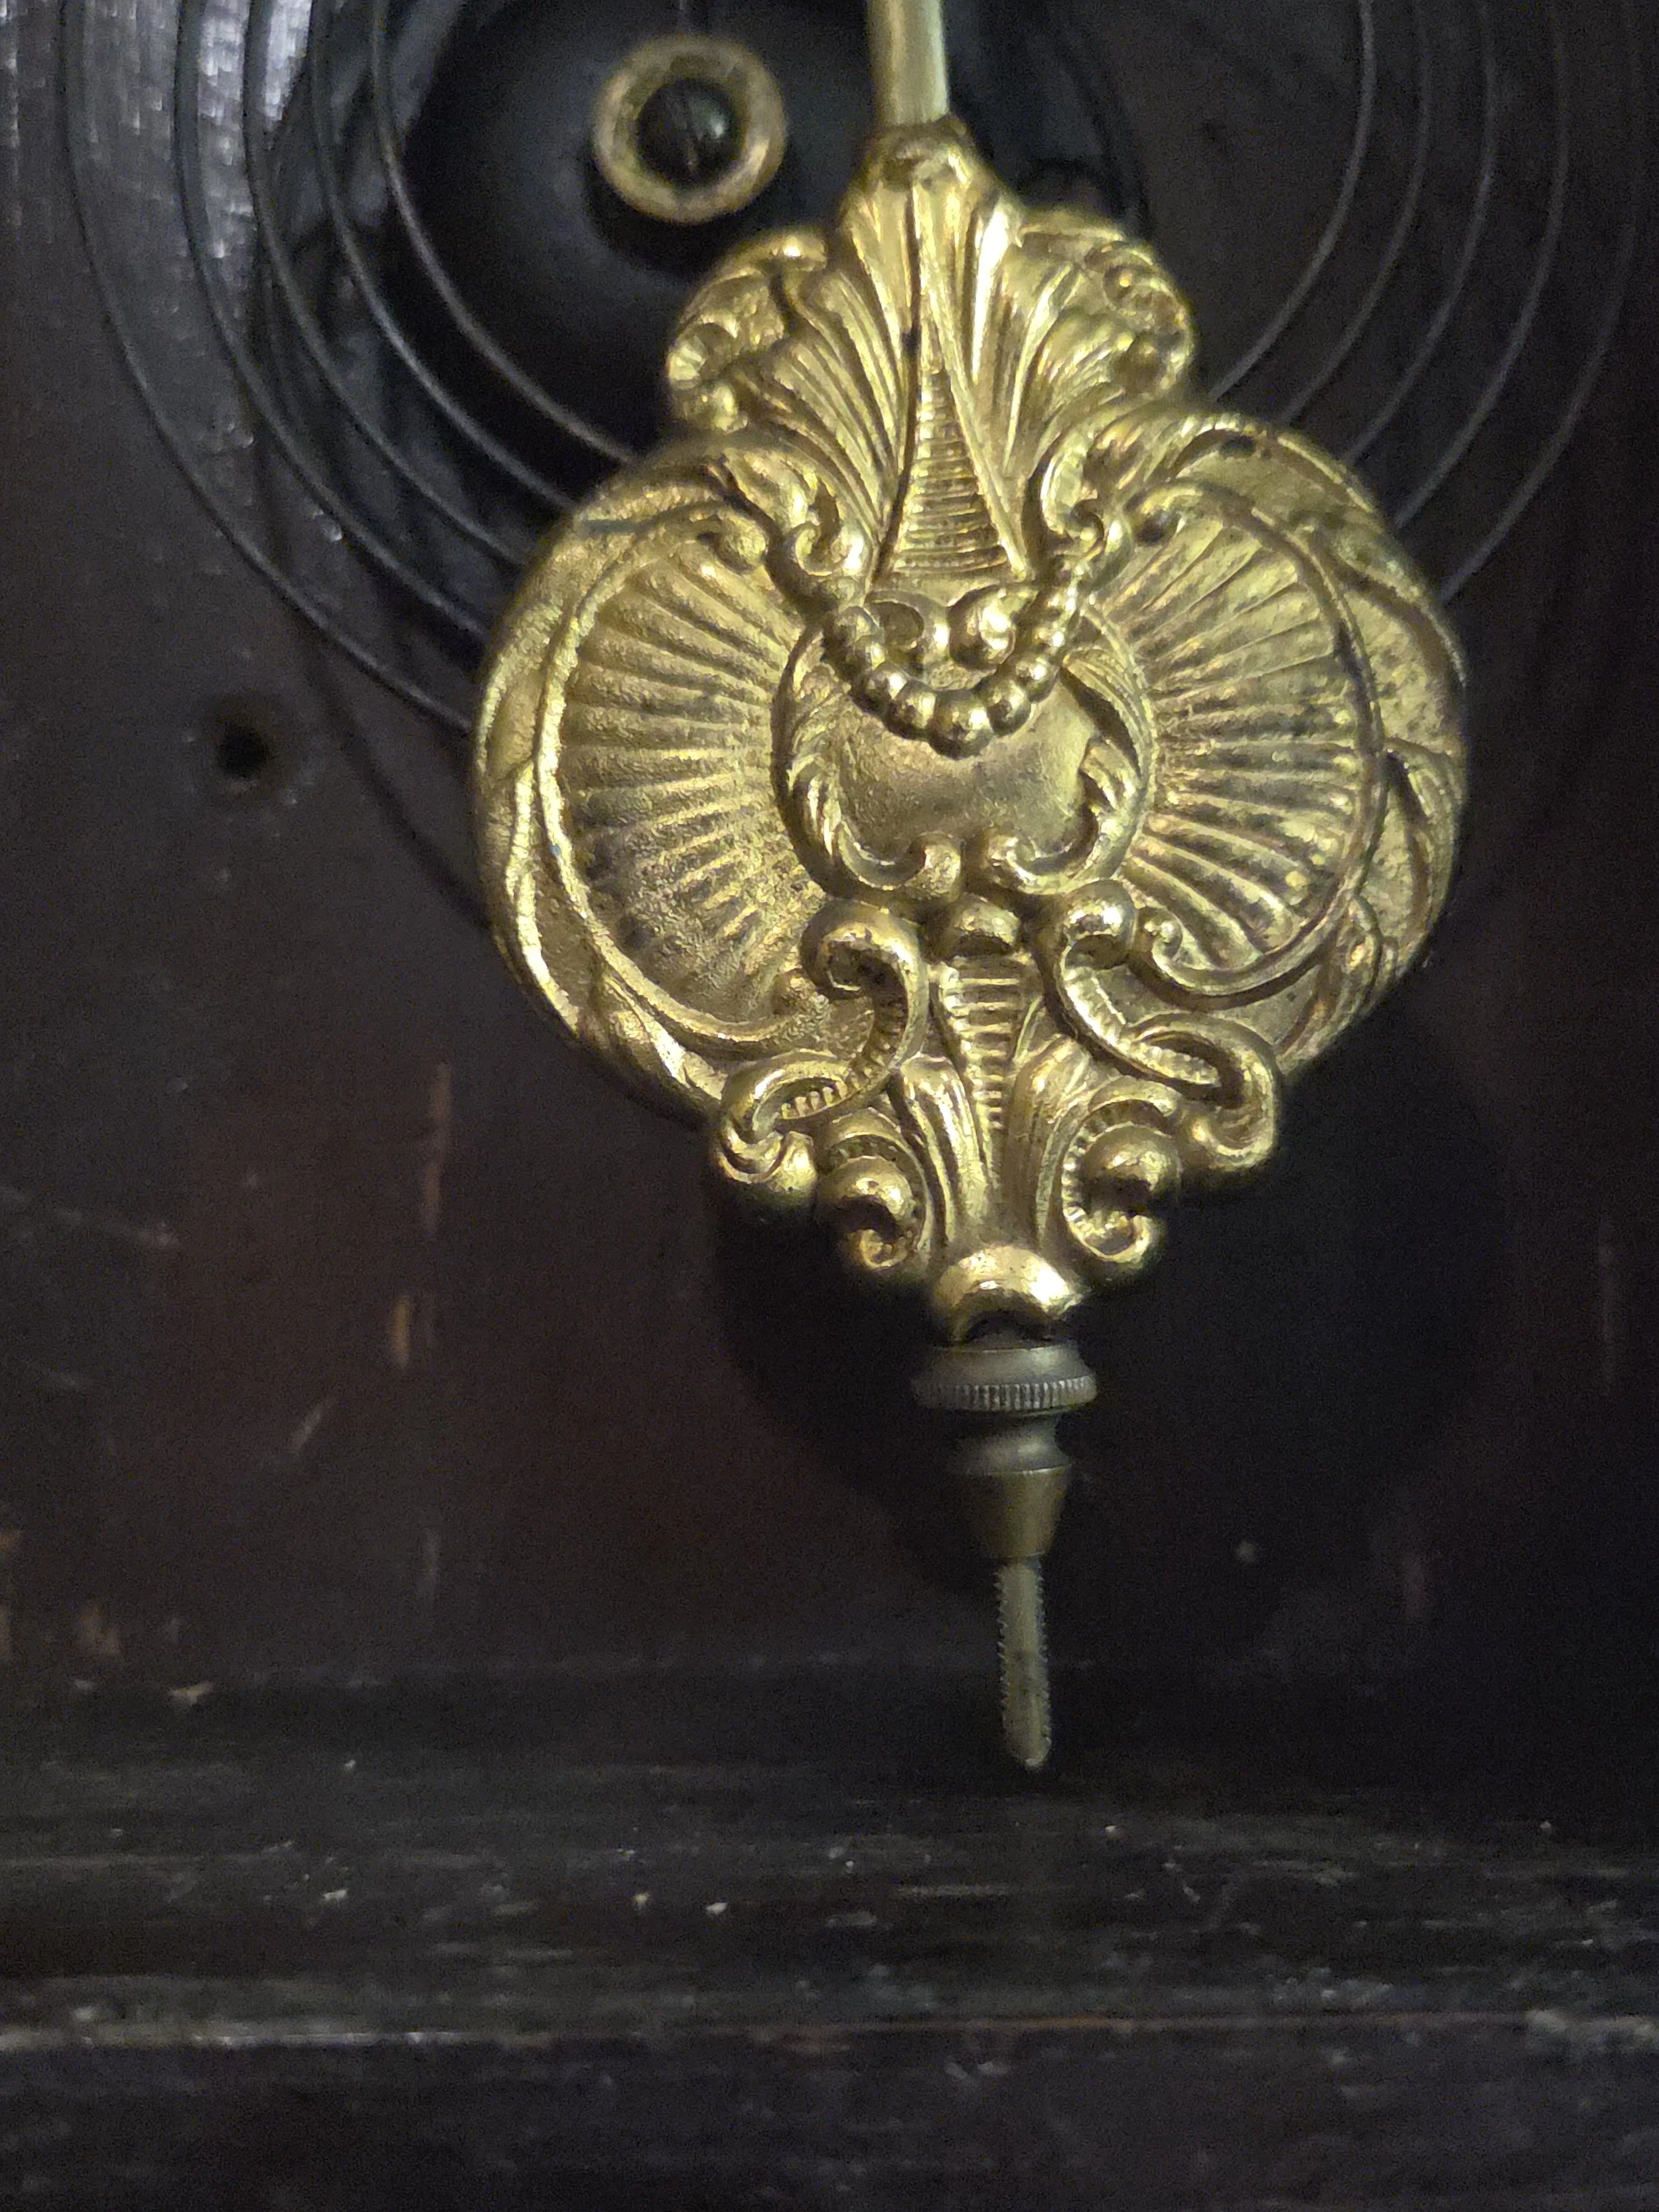
Visible Pendulum
Mid-length pendulum bob visible through the lower glass panel
Suspension spring at the top of the movement
Rating nut beneath the bob for regulating speed
Many bobs feature brass finishes or pressed decorative patterns

Decorative Glass Door Panels
Reverse-painted or stenciled designs
Gold leaf ornamentation and botanical motifs
Clear window portion for viewing the pendulum
Door secured with a small latch
Operational Guide:
Placement & Leveling
Proper setup ensures consistent rhythm and strike.
Place the clock on a stable shelf or mantel
Level the case front-to-back and side-to-side
Listen for a steady tick–tock
Adjust leveling slightly to either side until the beat sounds even.
Step 1:
Installing the Pendulum
Open the front glass door
Hook the pendulum bob onto the suspension leader
Confirm it hangs straight and does not contact the door or case features
A centered, unobstructed swing is essential for proper operation.
Step 2:
Winding
Kitchen clocks typically have two winding arbors, generally strike on the left and time on the right:
Insert the key fully
Turn slowly and steadily
Stop when resistance increases
Wind both arbors fully once per week
Never force a key that resists turning
Step 3:
Setting the Time
Move the minute hand forward only
Allow chimes and strikes to complete when passing half-hour or hour marks
Do not move the hour hand independently; it will follow automatically
Step 4:
Strike & Gong Operation
Most gingerbread clocks:
Strike once on the half-hour
Strike the full hour count on the hour
Use a hammer hitting a coiled rear-mounted gong
A muffled or buzzing tone may indicate the gong is loose or the hammer is making poor contact.
Step 5:
Regulating the Speed
Pendulum Bob Adjustment
Raise the bob: Speed up
Lower the bob: Slow down
Make small adjustments (1–2 turns at a time) and test accuracy over 24 hours.
Step 6:
Routine Maintenance
Dust gently with a soft cloth
Avoid spray cleaners near the dial or decorated glass
Preserve reverse-painted designs by cleaning only the outer pane
Refrain from heavy polishing which may damage pressed-wood details
Oil and clean professionally every 5–10 years
Handling & Transport
Remove pendulum before moving
Ensure the gong is secure
Carry from the base, not from decorative scrolls or cresting ornaments