
Parlor & Shelf Clocks
Summary:
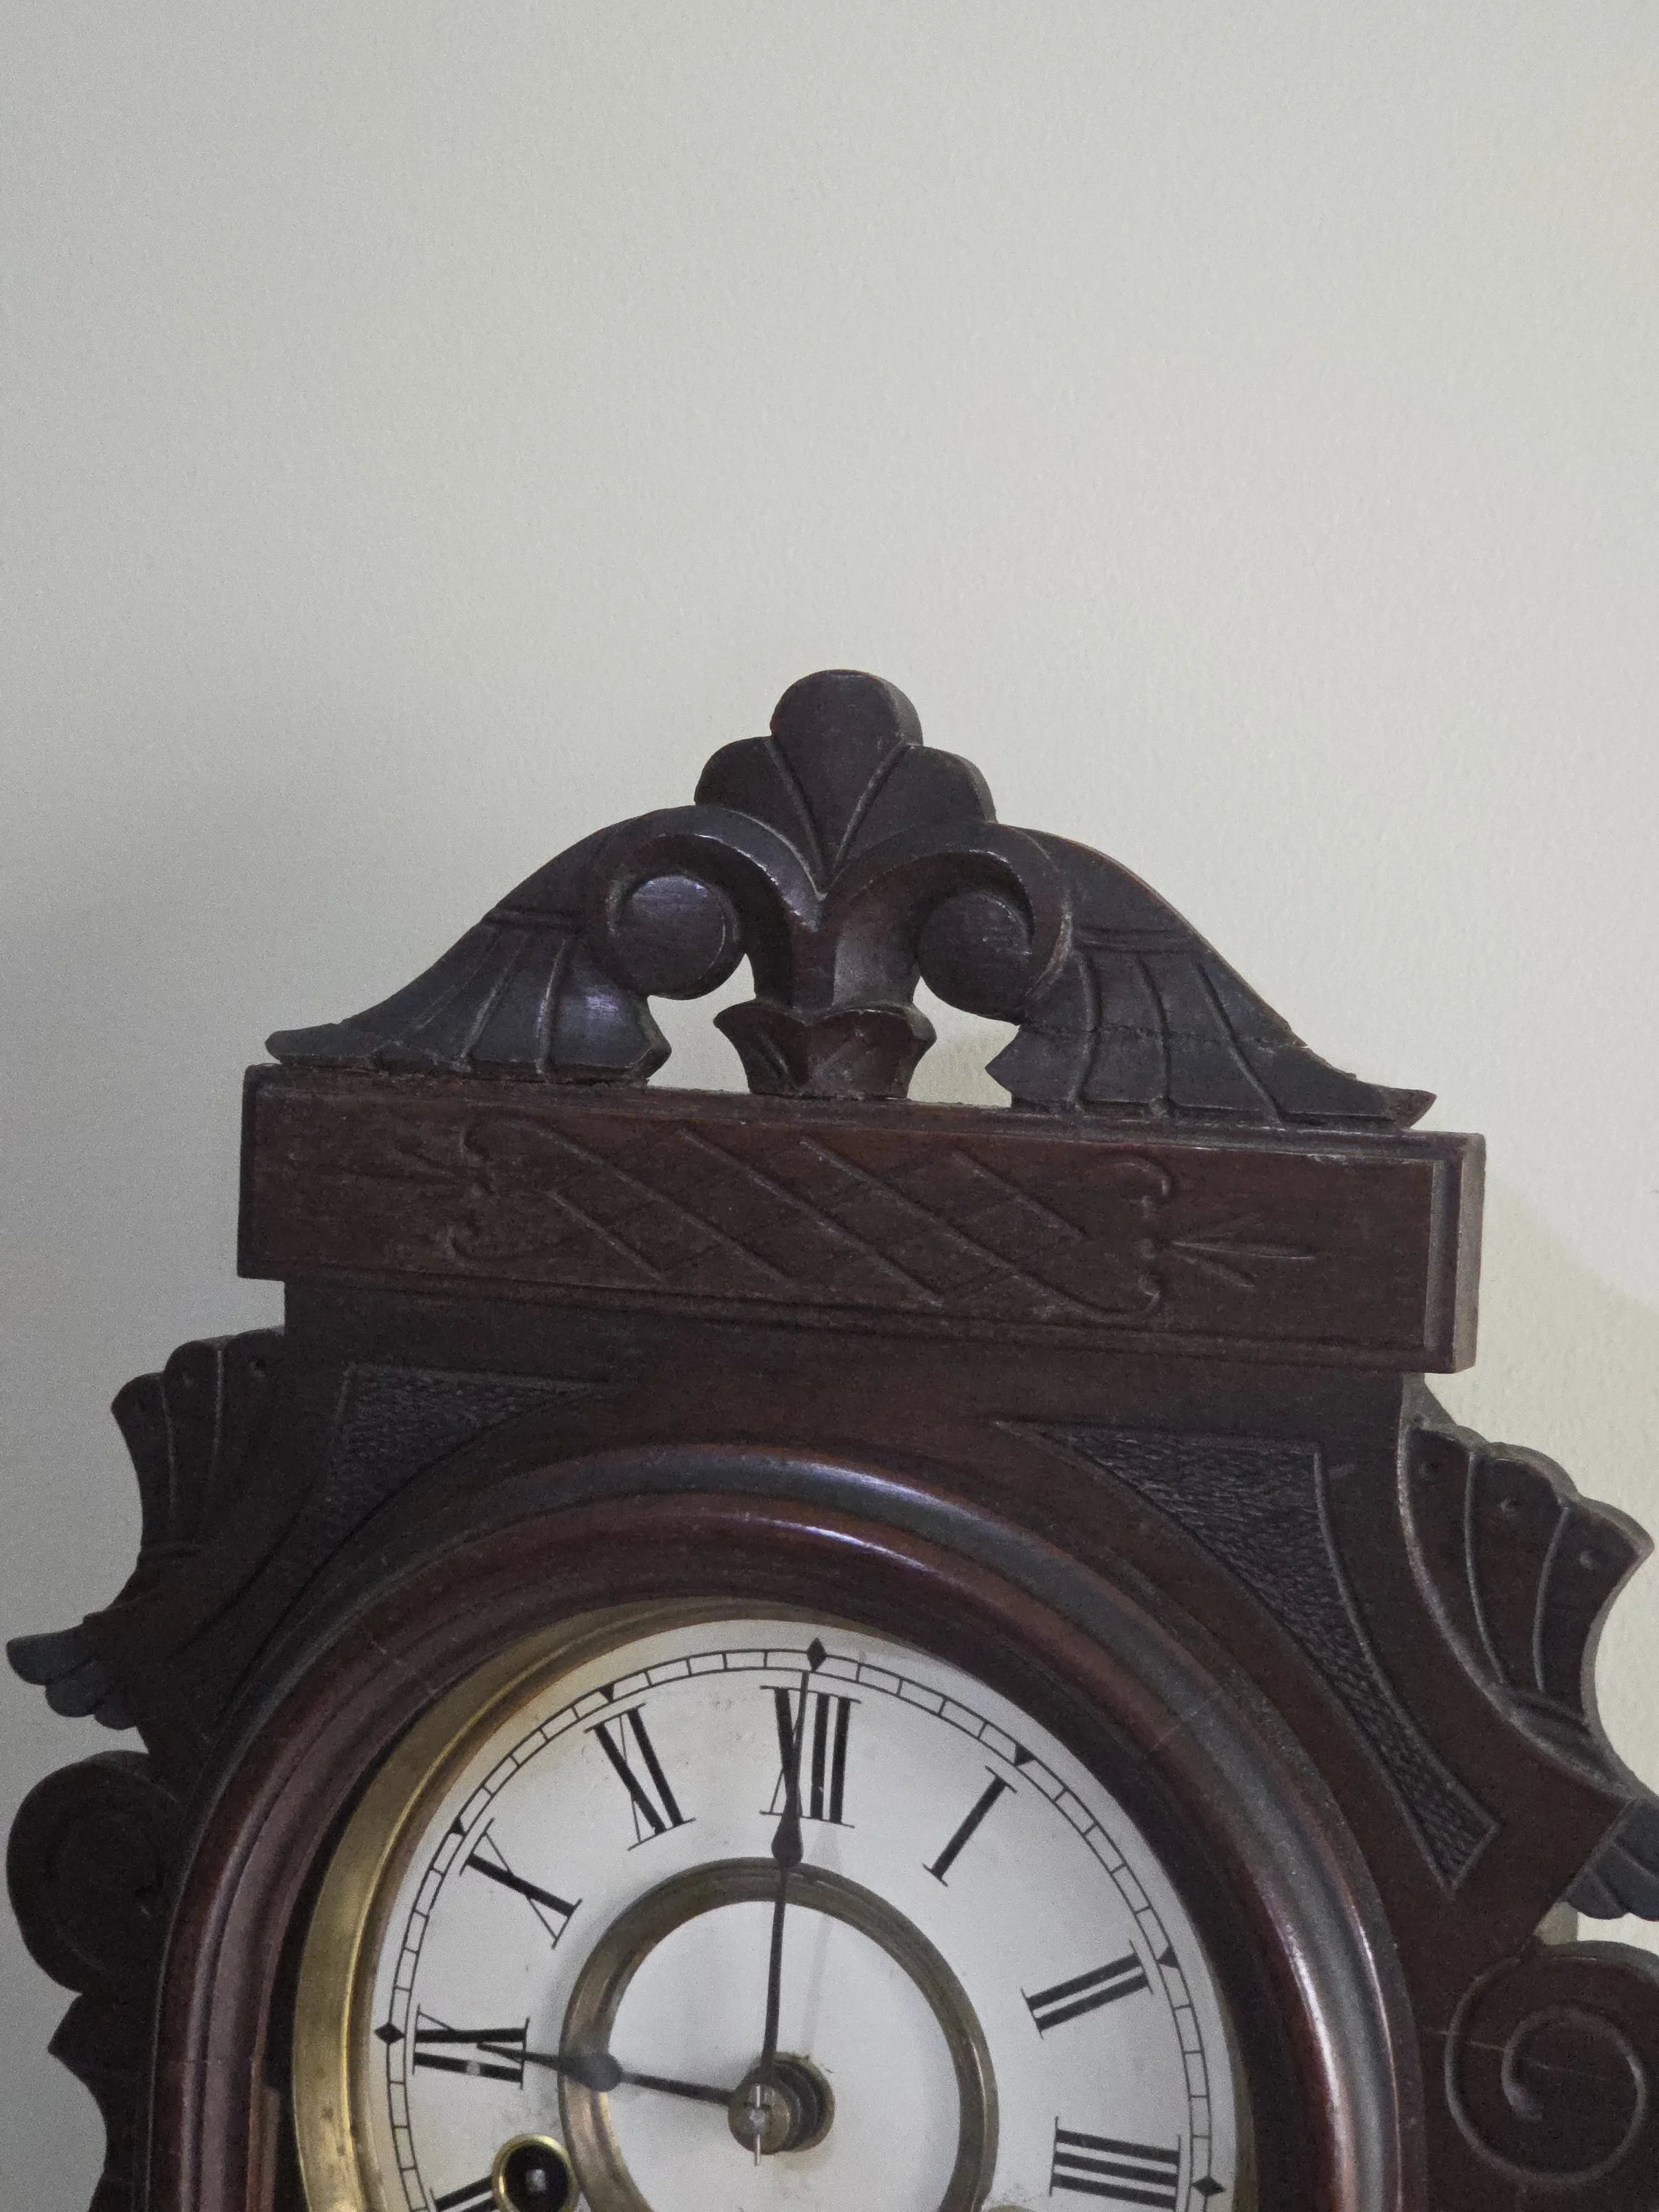
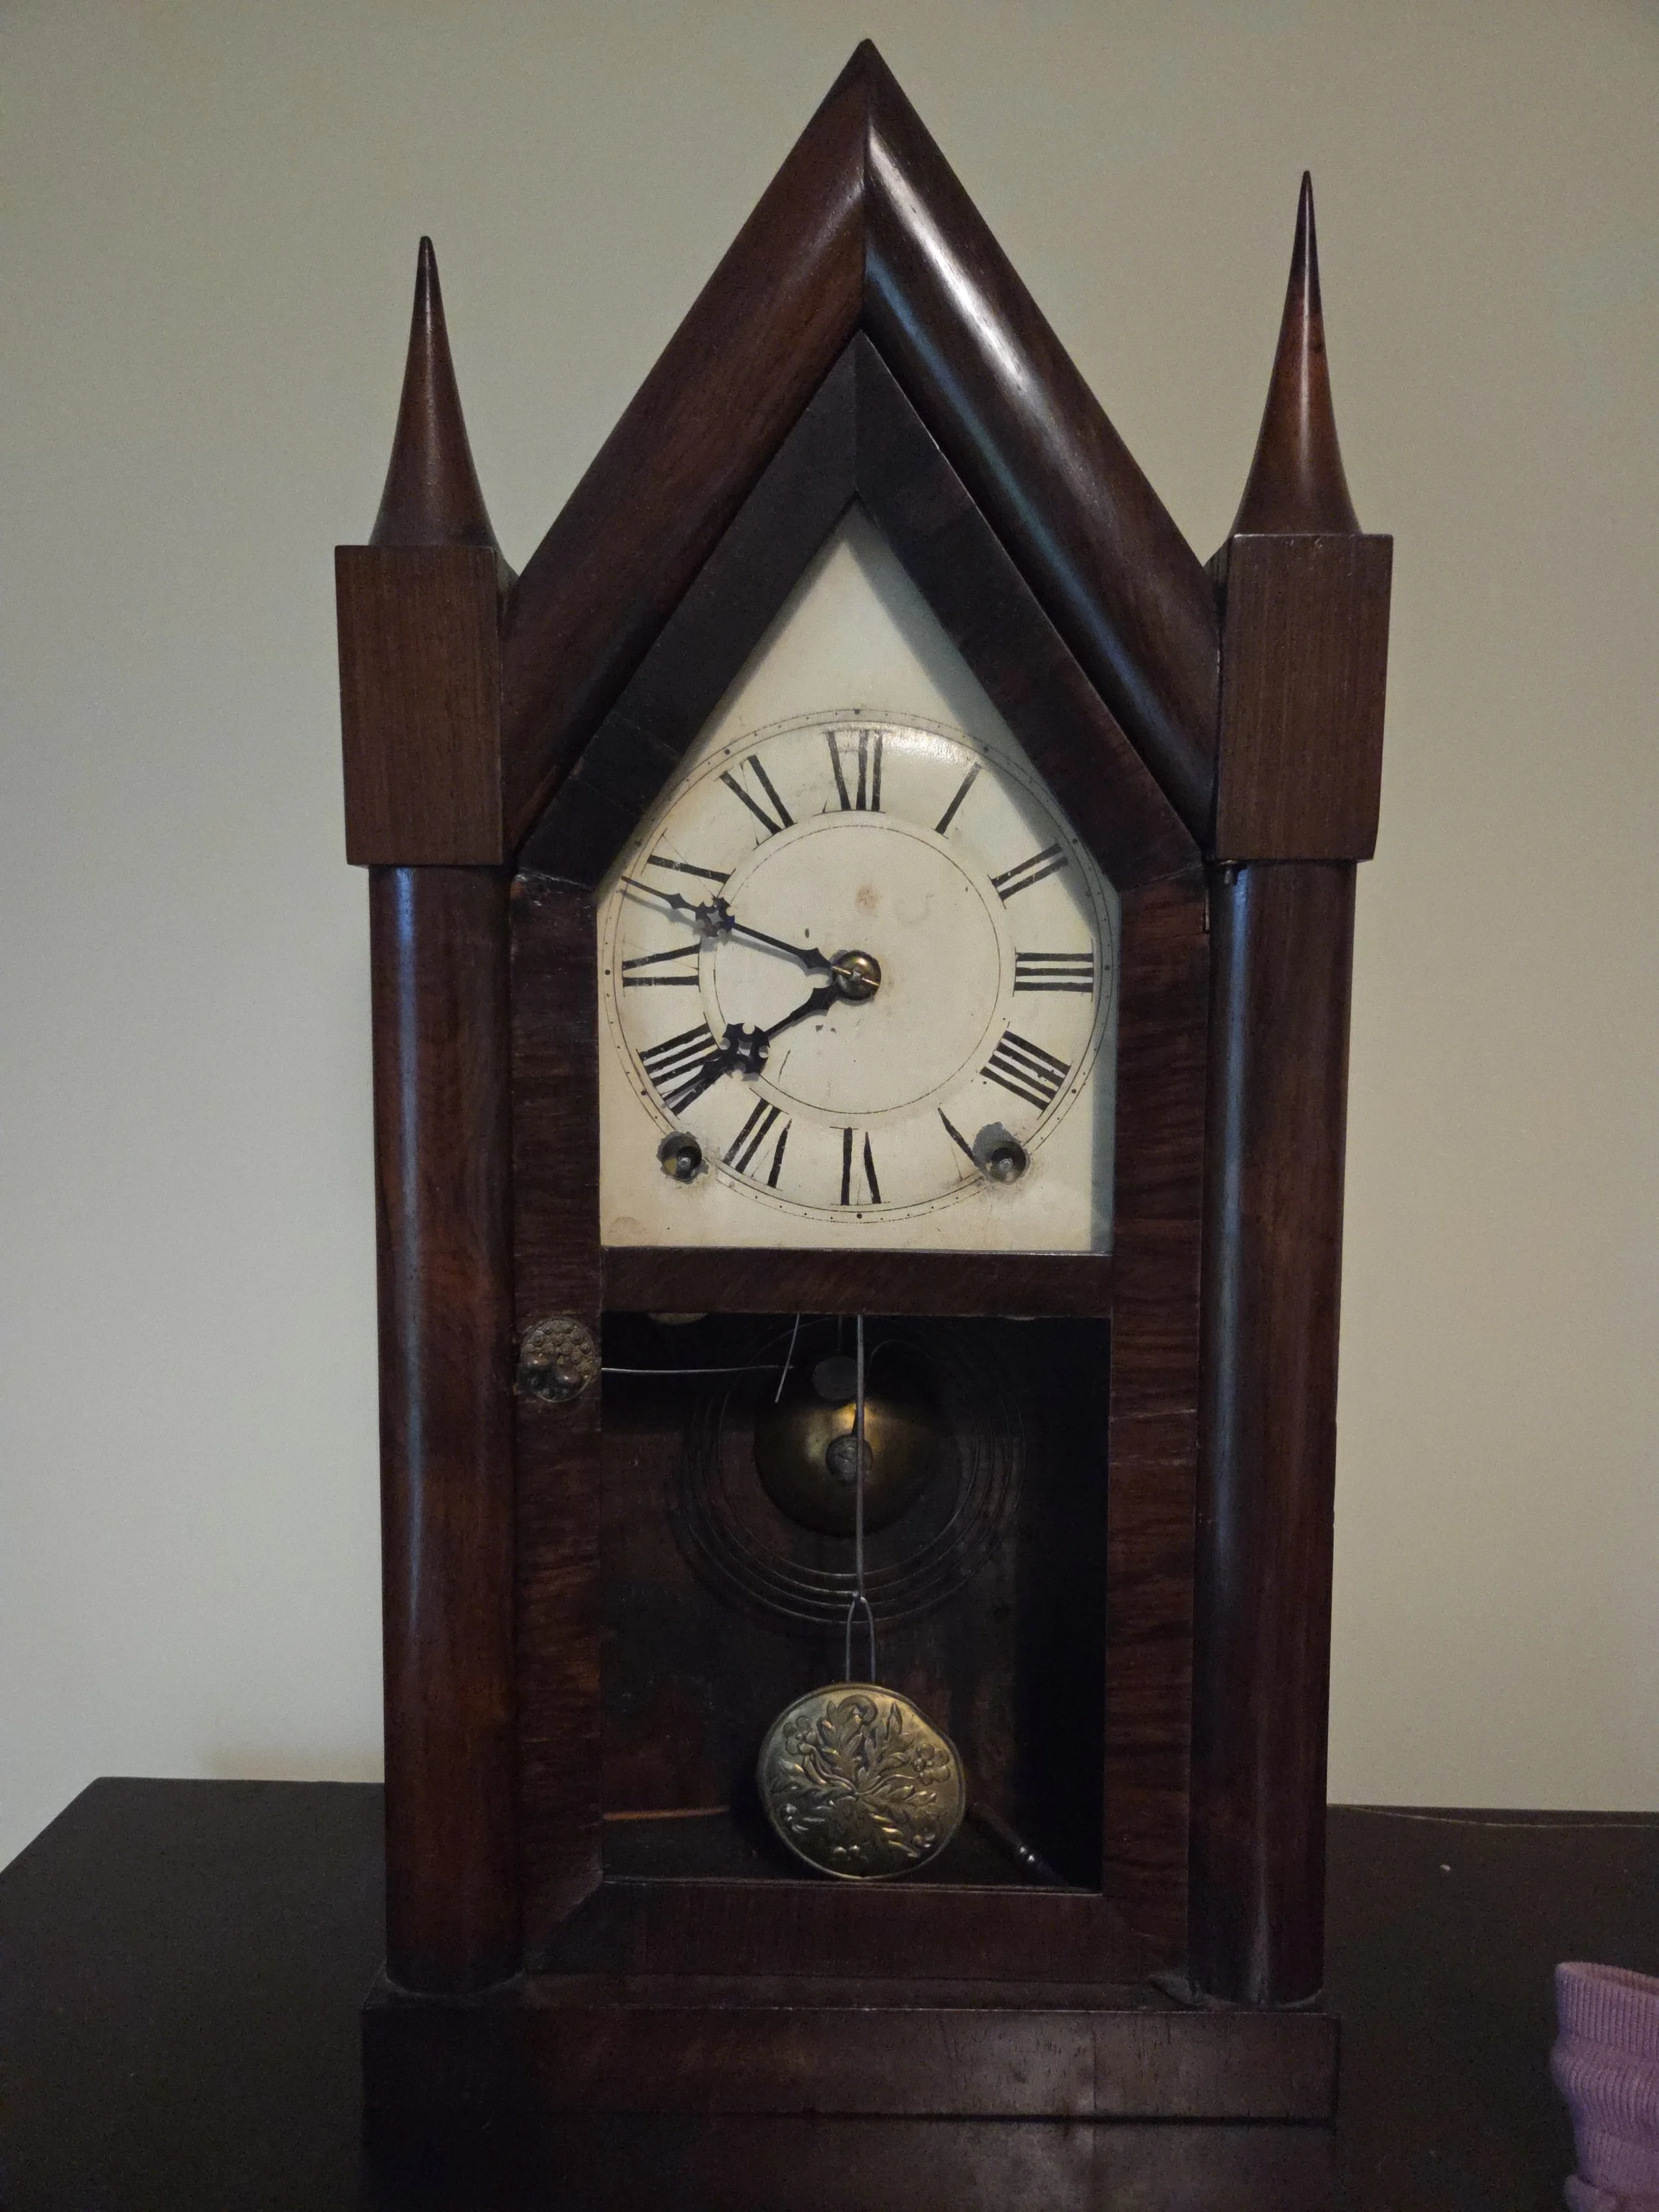
Parlor clocks are upright, shelf-style American clocks that closely resemble kitchen clocks in size, movement, and overall form. Their key distinction is the use of veneered or furniture-grade wooden cases, giving them a smoother, more refined appearance suited to formal living spaces. While mechanically similar to kitchen clocks, parlor clocks were designed with a cleaner, more polished aesthetic rather than the ornate pressed-wood patterns seen in kitchen models.
Key Identifiers:
Refined Wooden Casework
Upright shelf-style clock, similar overall form to kitchen clocks
Smooth, furniture-grade wooden cases
Modest carved details or veneers in walnut, mahogany, oak, or stained softwoods
Rectangular or arched shape with a wide, stable base
8-Day Mechanical Movements
Spring-driven 8-day movement
Time and strike on a coil gong
Count-wheel strike on many earlier models
Durable, straightforward, and highly serviceable designs

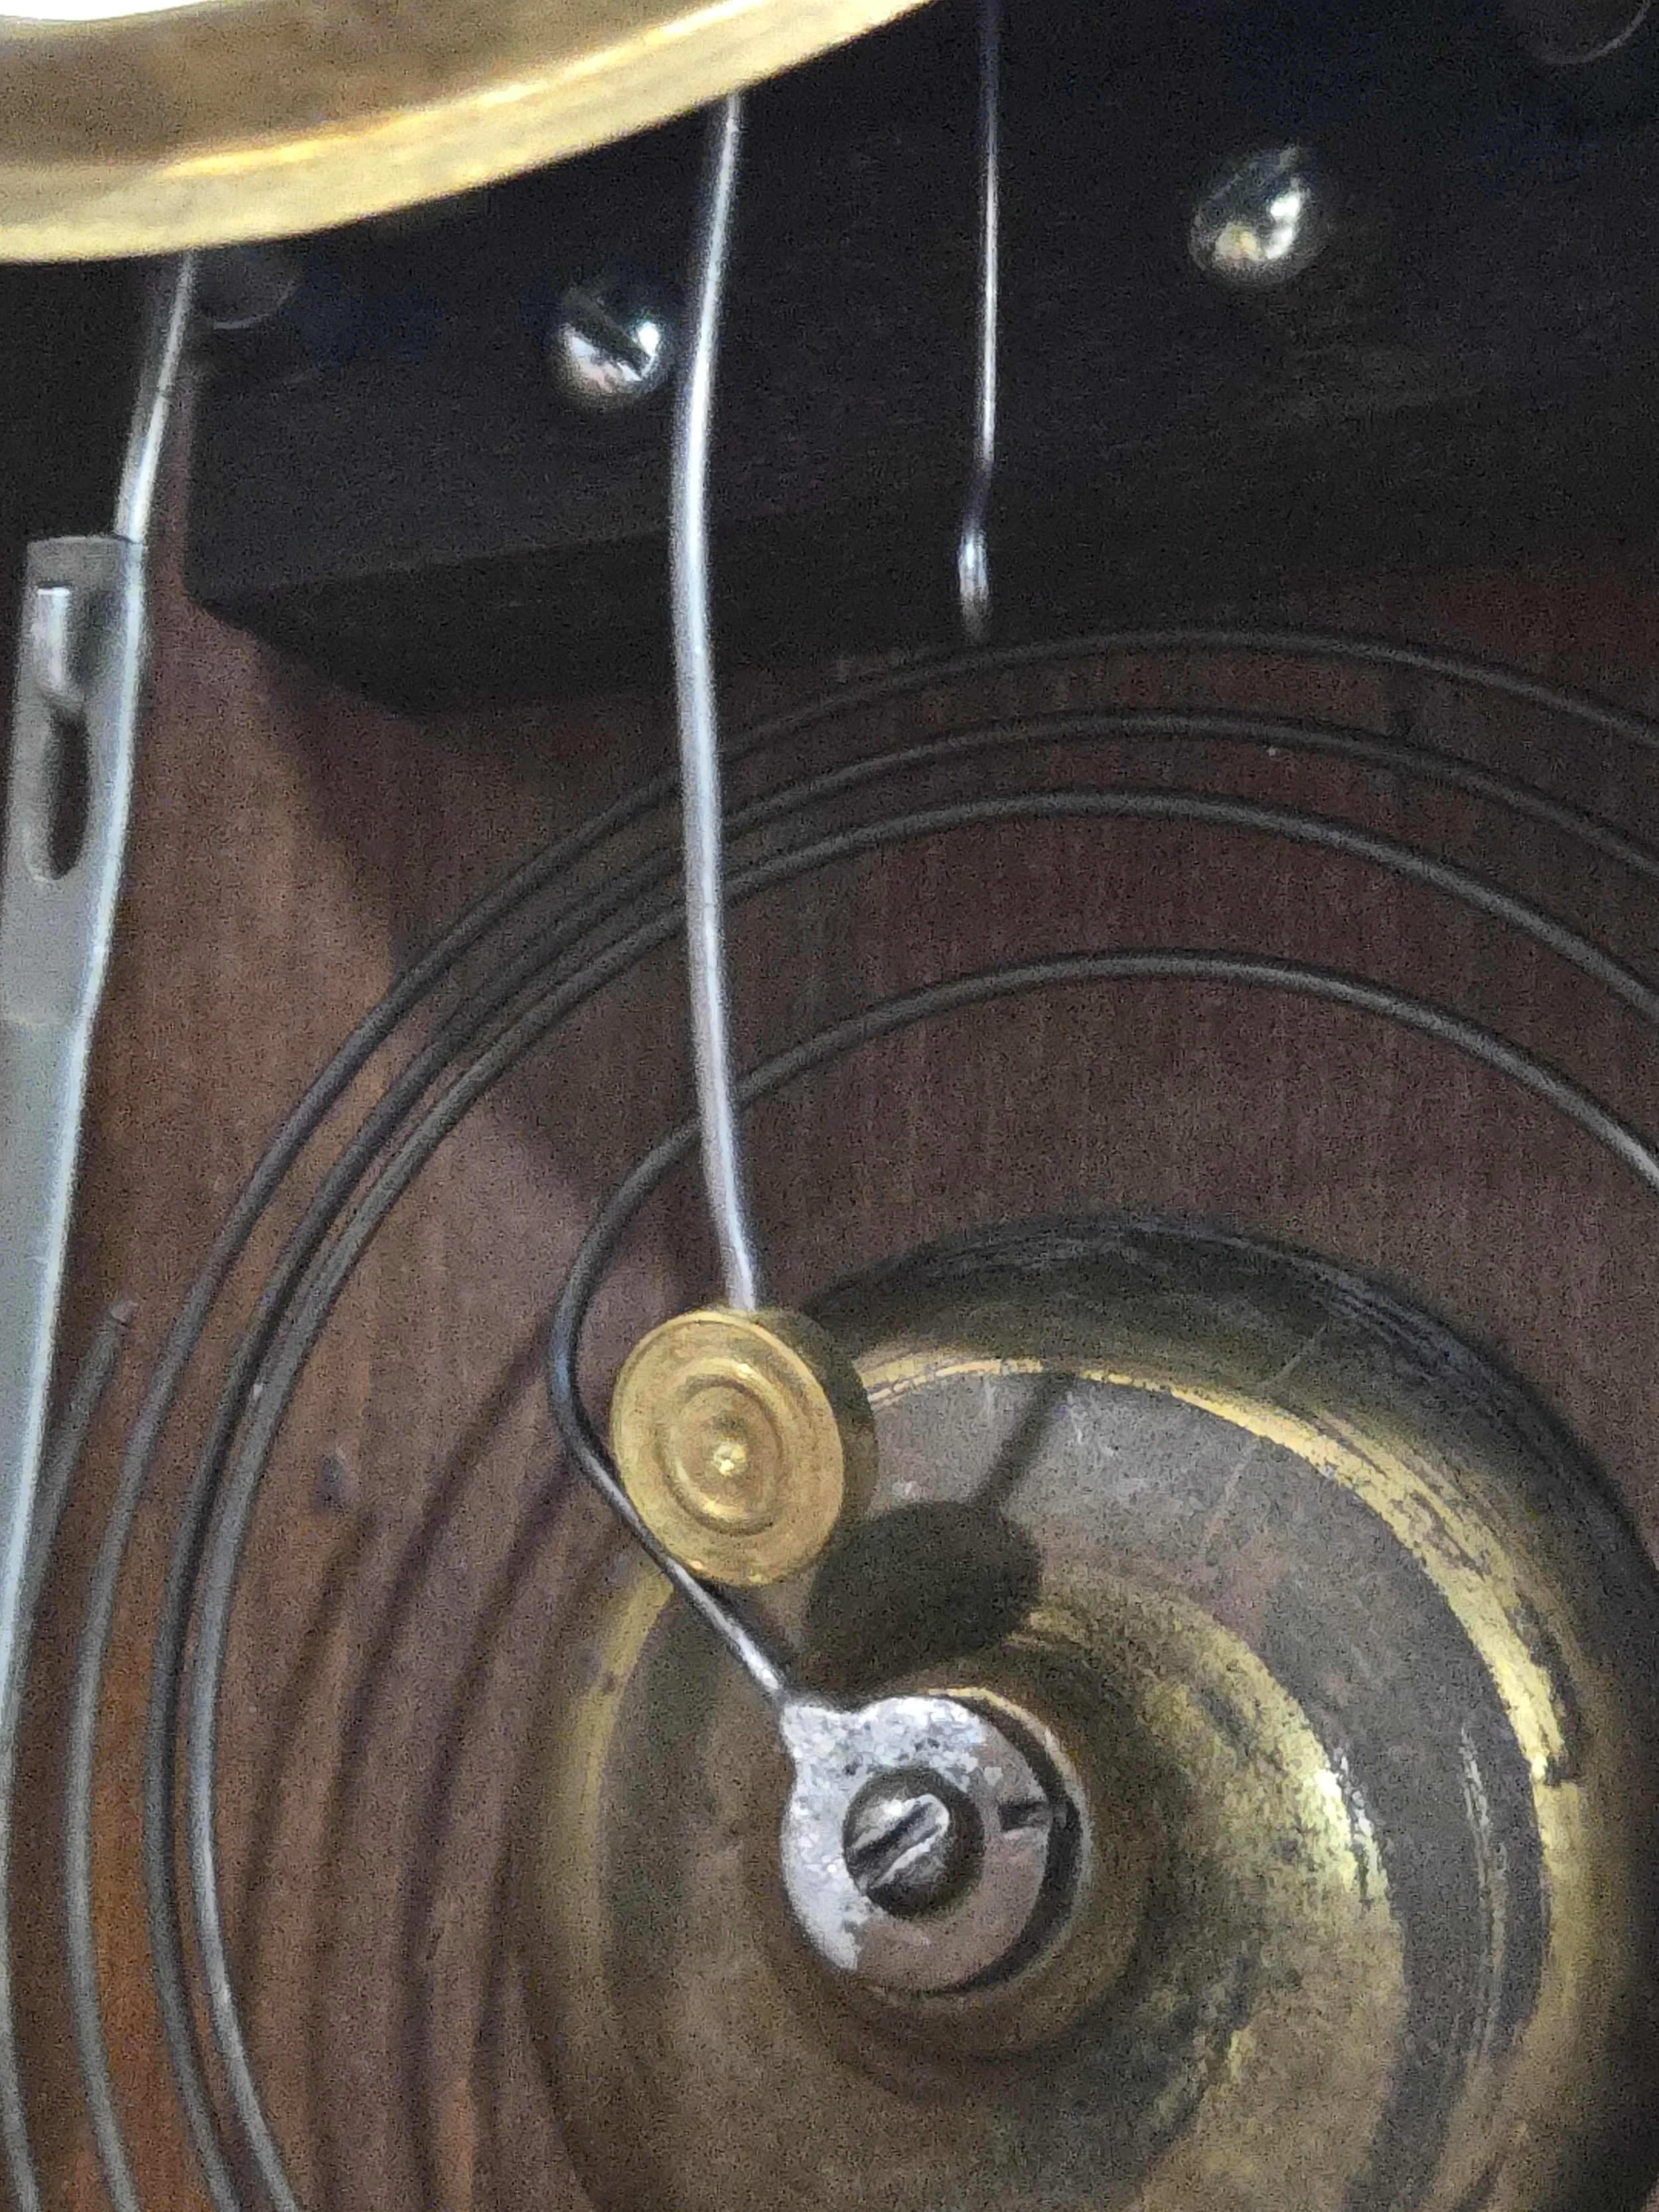
Pendulum Assembly
Mid-length pendulum visible through the lower door glass
Suspension spring mounted at the top or middle of the movement
Regulating nut beneath the pendulum bob
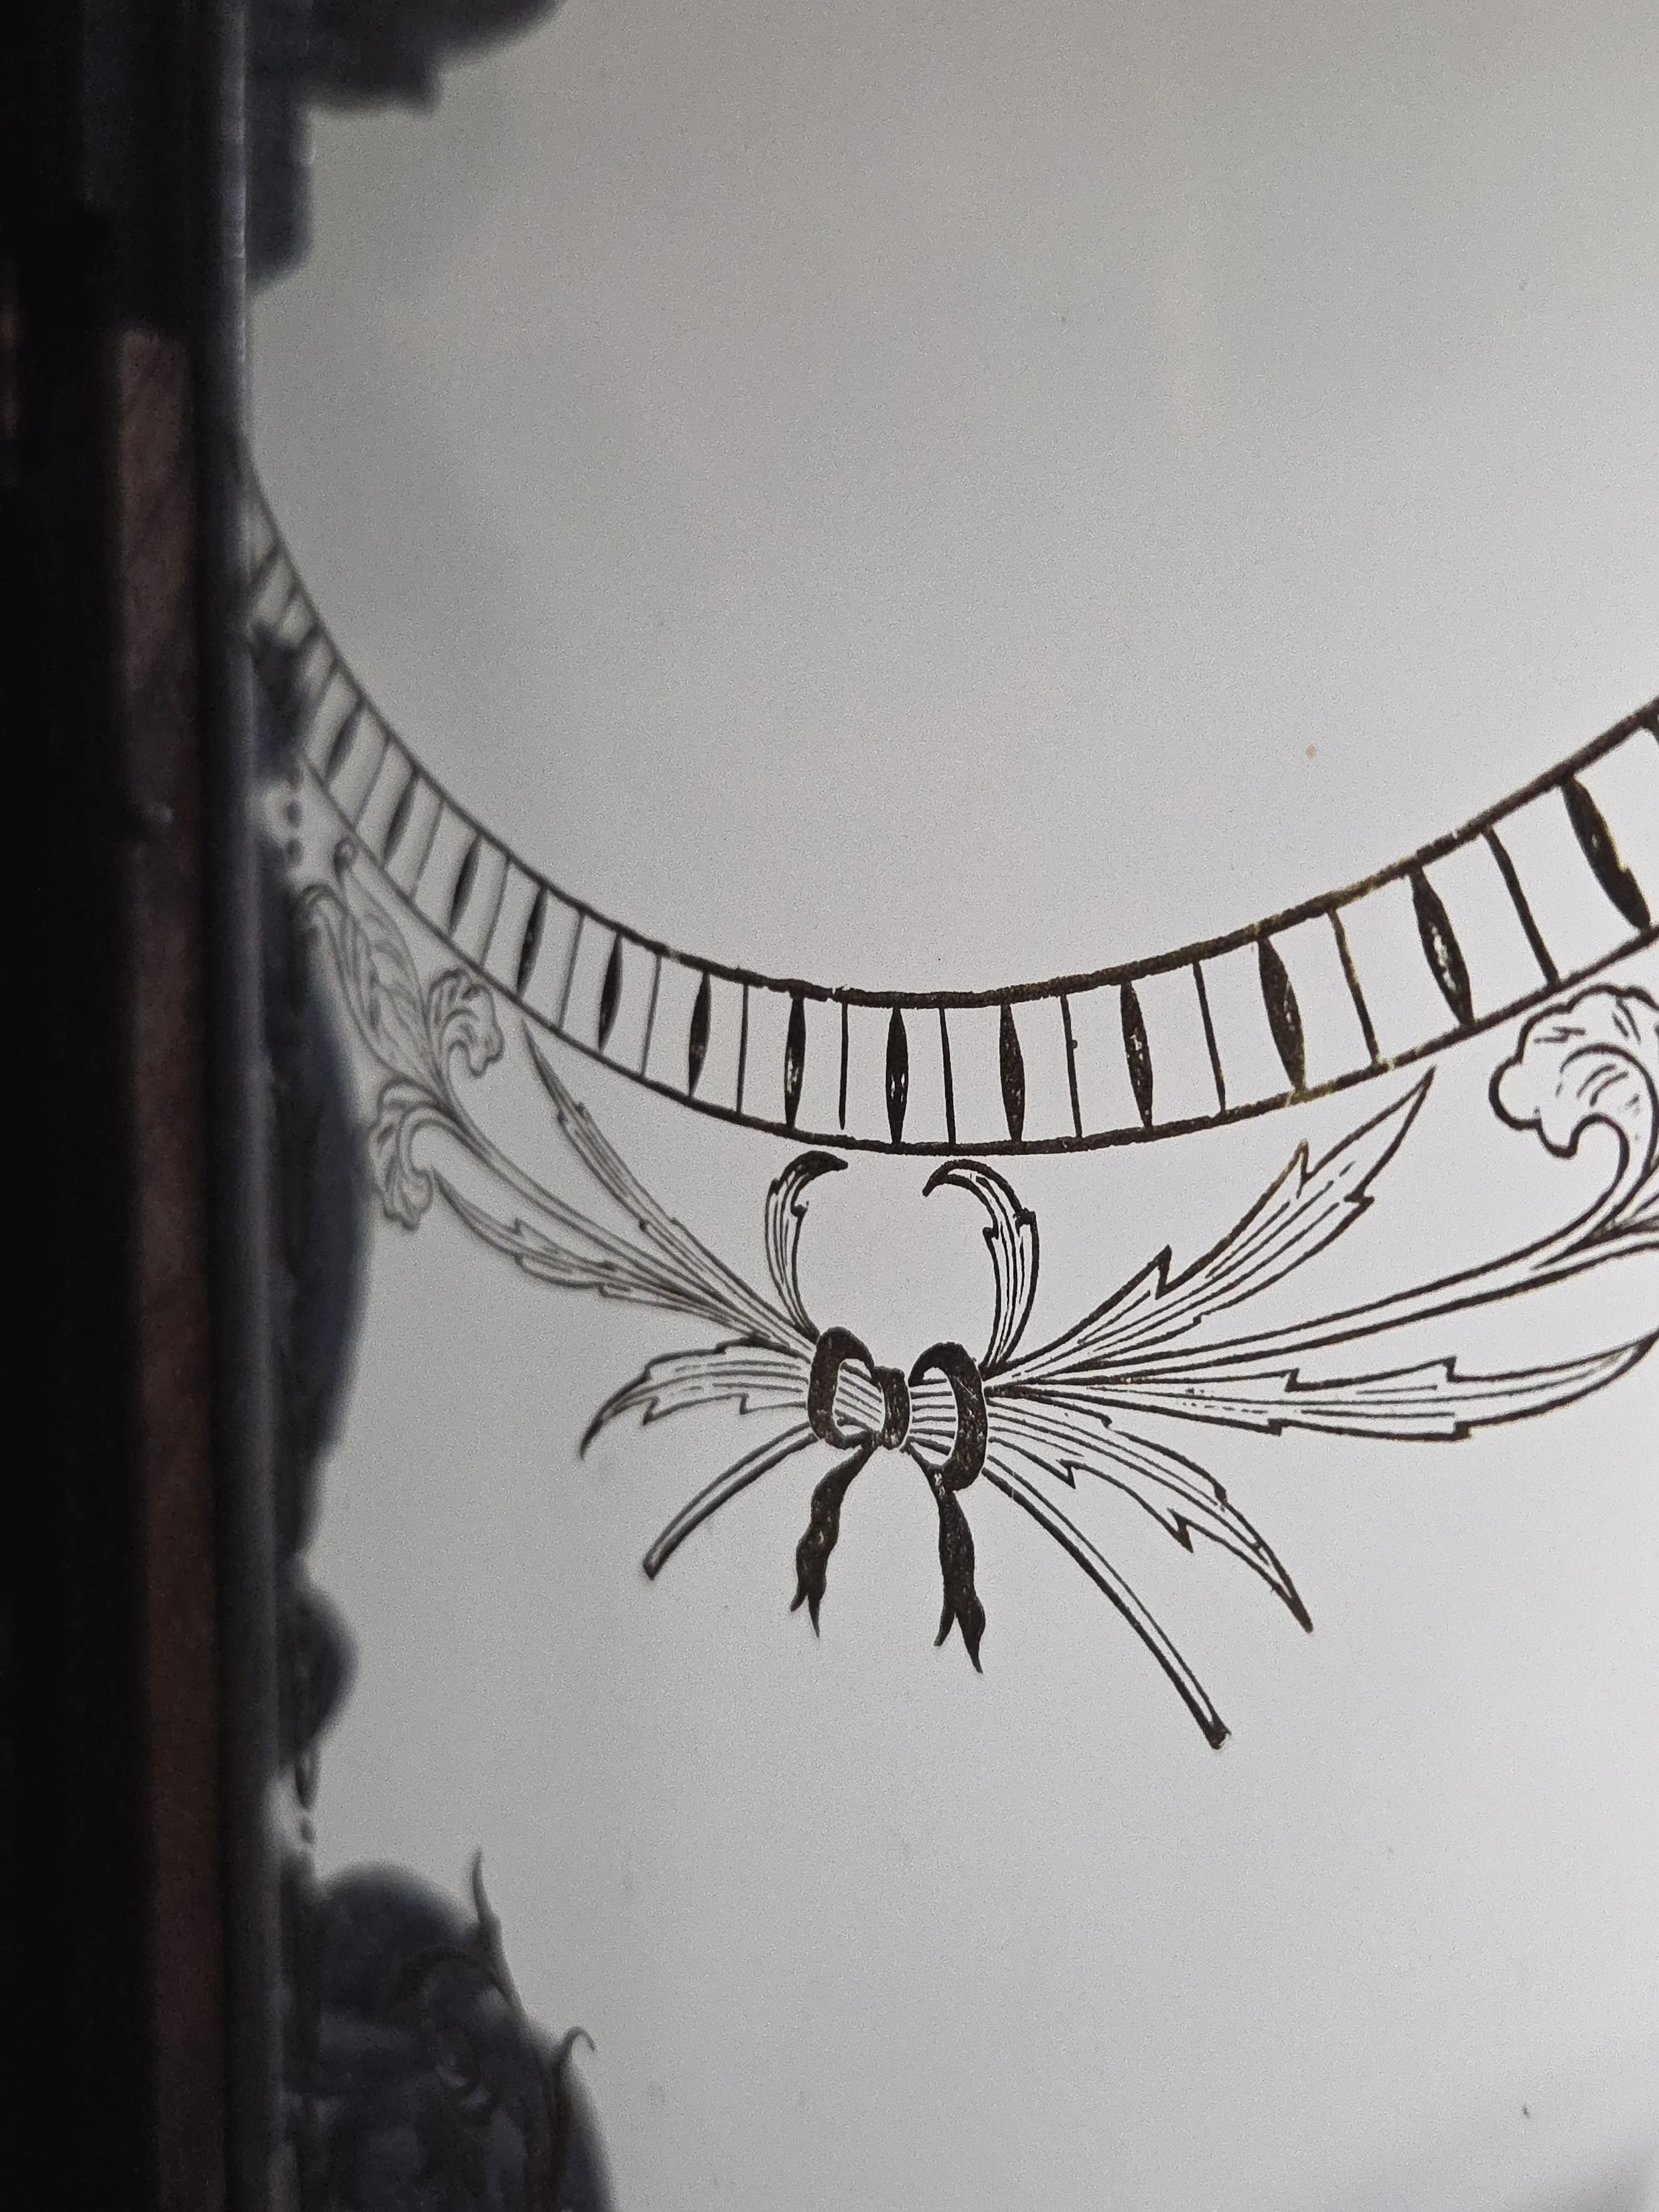
Decorative Glass Doors
Reverse-painted or stenciled designs
Gold-leaf accents or simple geometric borders
Clear viewing window for the pendulum
Usually secured with a small latch
Operational Guide:
Placement & Leveling
Shelf clocks operate best when level and stable.
Place on a flat, firm surface
Check side-to-side and front-to-back level
Listen for an even tick–tock rhythm
Adjust leveling slightly to either side until the beat sounds even.
Step 1:
Installing the Pendulum
Open the front door
Attach the pendulum bob to the suspension leader
Ensure it hangs straight and swings freely behind the glass
Make sure the bob does not contact the door or case.
Step 2:
Winding
Parlor clocks typically have two winding arbors, generally strike on the left and time on the right:
Insert the key fully
Turn slowly and steadily
Stop when resistance increases
Wind both arbors fully once per week
Never force a key that resists turning
Step 3:
Step 4:
Setting the Time
Advance the minute hand forward only
Pause at each half-hour and hour to allow the strike to complete
Let the hour hand move naturally; do not force it independently.
Regulating the Speed
Pendulum Bob Adjustment
Raise bob: Speeds the clock
Lower bob: Slows the clock
Make small adjustments (1–2 turns), then check accuracy after 24 hours.
Dial-Accessible Adjusters
Some shelf clocks have a small arbor at the top of the face marked F / S:
Turn toward F to speed
Turn toward S to slow
This adjusts internal pendulum length.
Step 5:
Strike & Gong Operation
These clocks typically:
Strike once at the half hour
Strike the full hour count on the hour
Use a coil gong attached to the backboard
A clear, resonant tone is ideal; if the strike sounds dull, check for loose mounting of gong or poor hammer contact.
Step 6:
Routine Maintenance
Dust wood surfaces gently
Avoid spray cleaners near the dial, movement, or glass artwork
Preserve reverse-painted/stenciled glass by cleaning only the outside surface
Have the movement cleaned and oiled every 5–10 years
Handling & Transport
Remove pendulum before moving
Tilt and carry from the base, not from decorative elements
Secure the gong and ensure no loose parts inside the case