
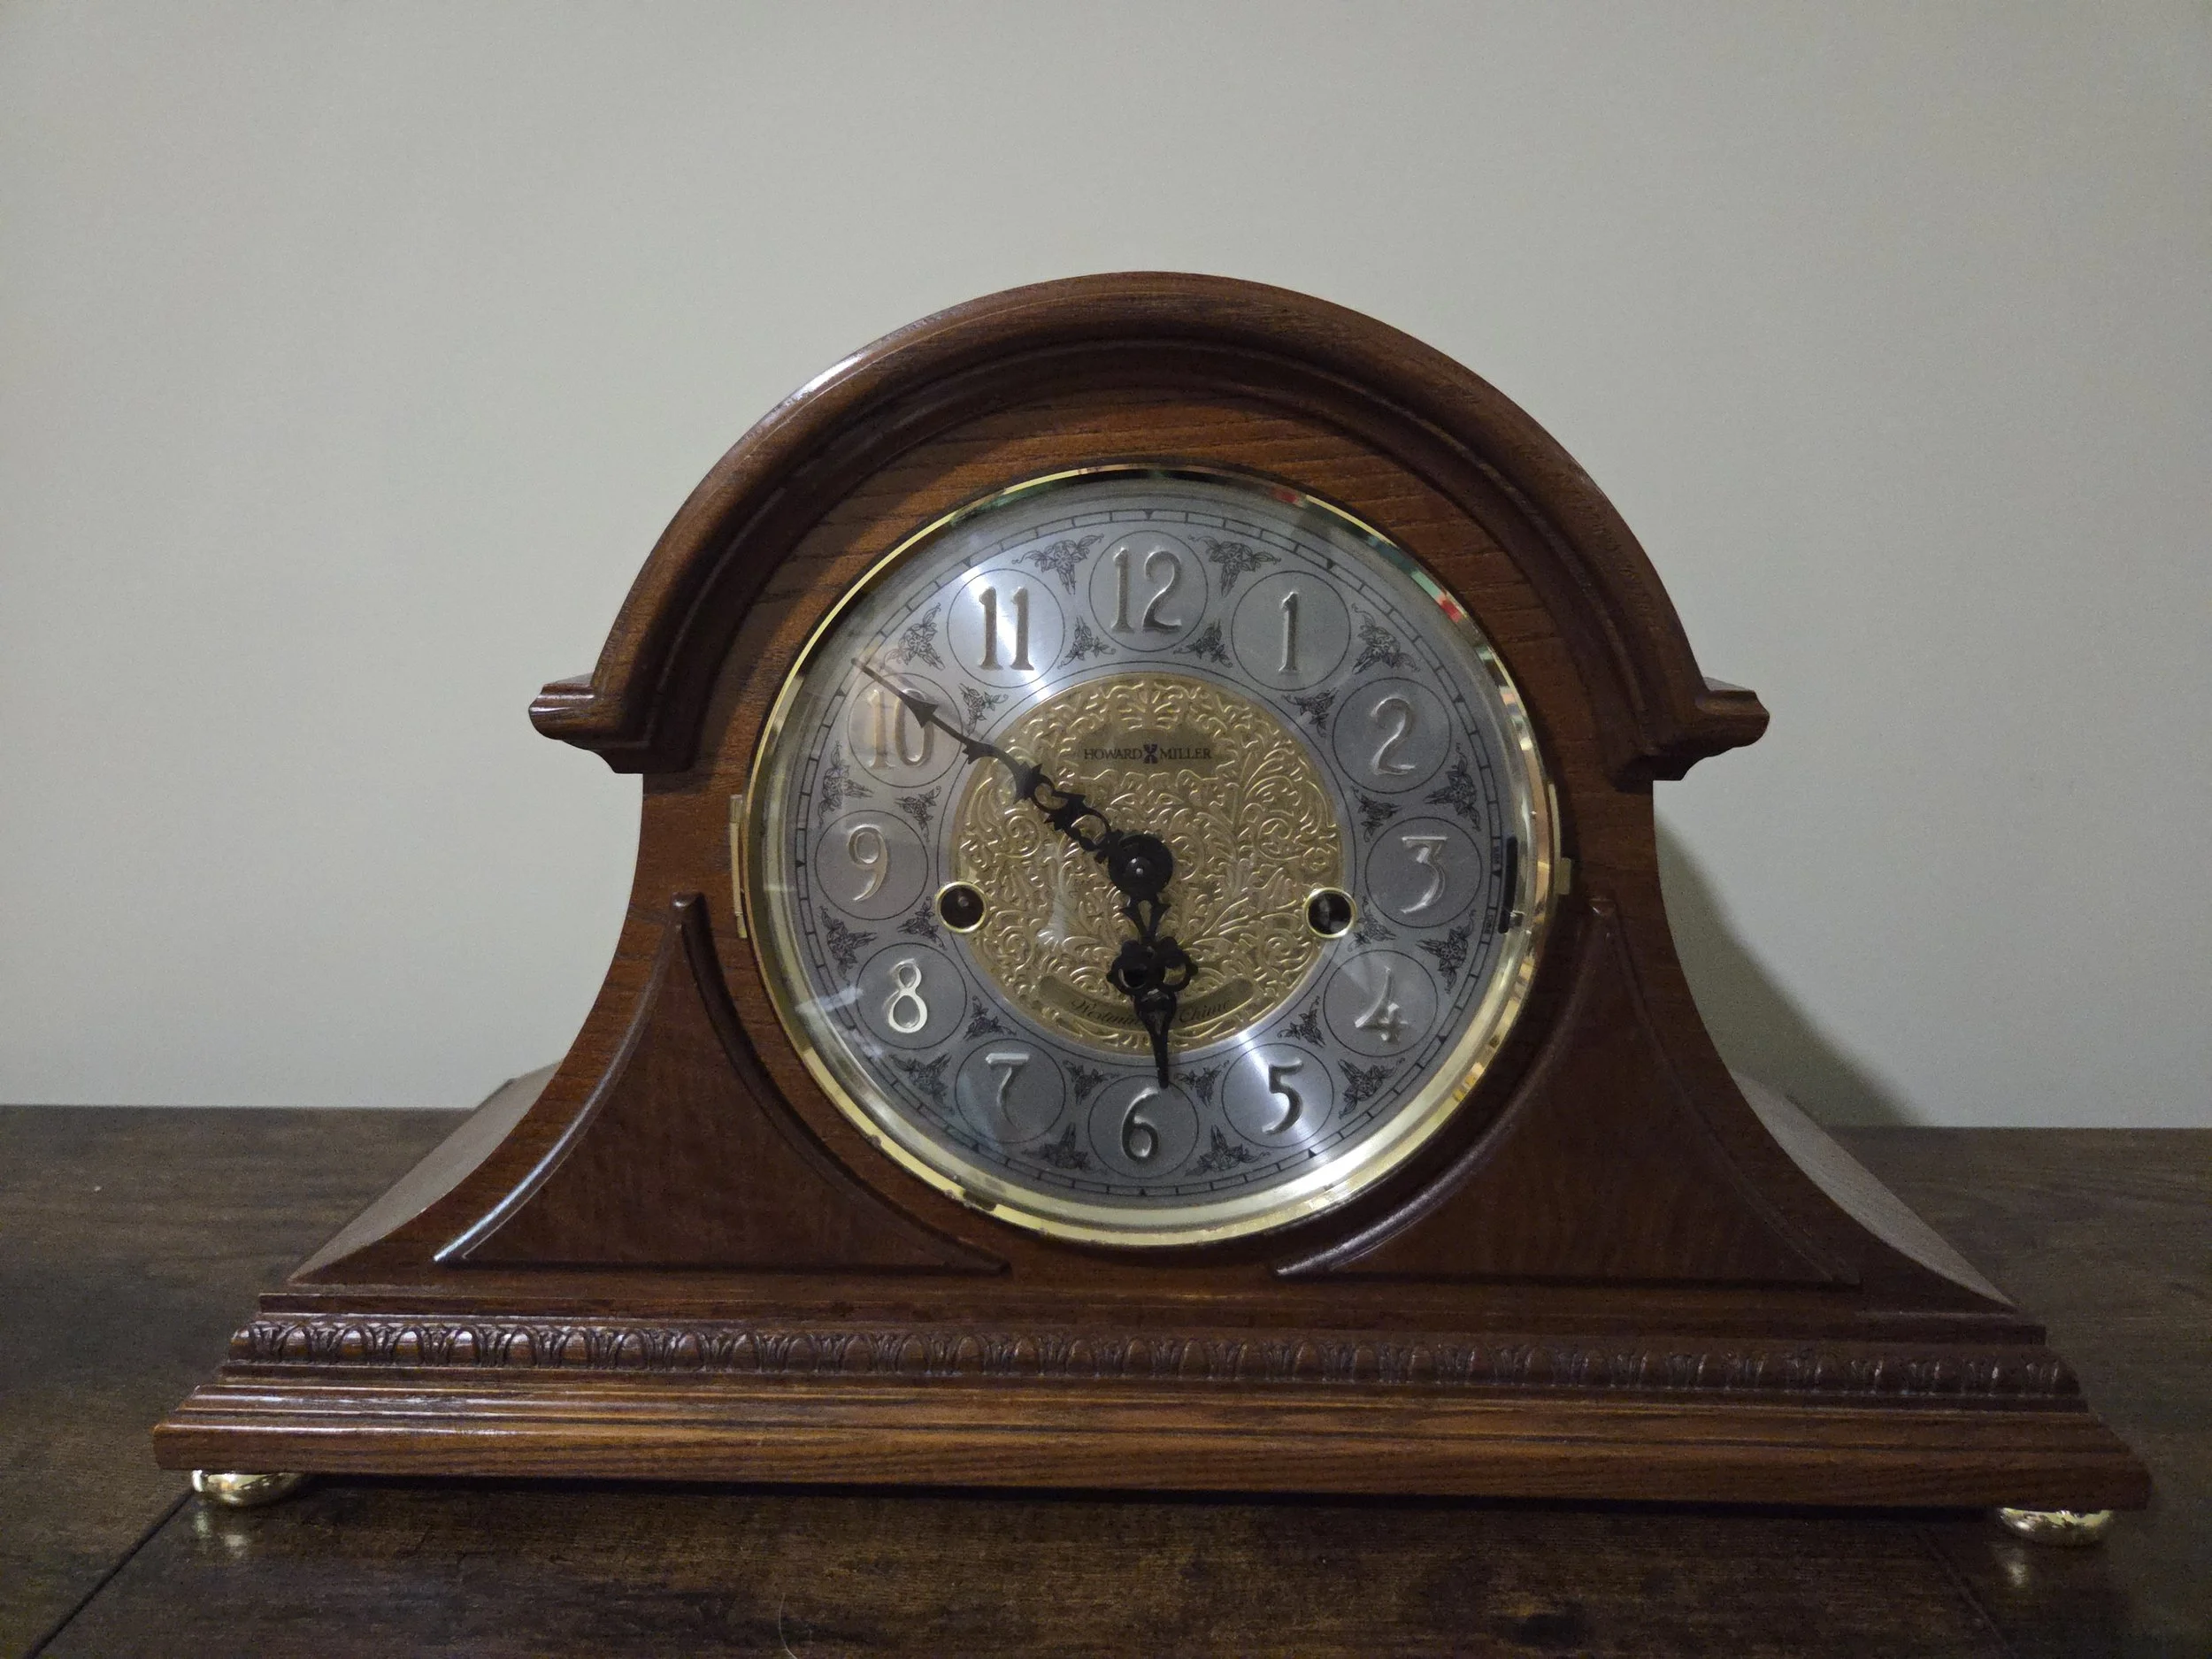
Tambour / “Napoleon Hat” Mantel Clocks
Summary:
Tambour—also known as “Napoleon Hat”—mantel clocks are one of the most iconic mantel clock styles. Recognized by their sweeping, curved tops and wide bases, these clocks commonly feature 8-day mechanical movements with hour strike or chiming functions. Their stable footprint and resonant case architecture give them a warm, balanced sound when properly set up.

Key Identifiers:

Characteristic Case Shape
Tambour clocks feature:
A low, elongated base
A curved or arched top resembling a Napoleon-style hat
Front and rear access panels for servicing
Cases are typically wood, with veneers such as mahogany, walnut, or oak.
Mechanical Movement Type
Most tambour clocks use:
8-day, spring-driven movements
Time and strike, or time, strike, and chime (commonly Westminster)
Balance-wheel or floating balance in some later versions
Earlier models often use a bim-bam style two-hammer strike.
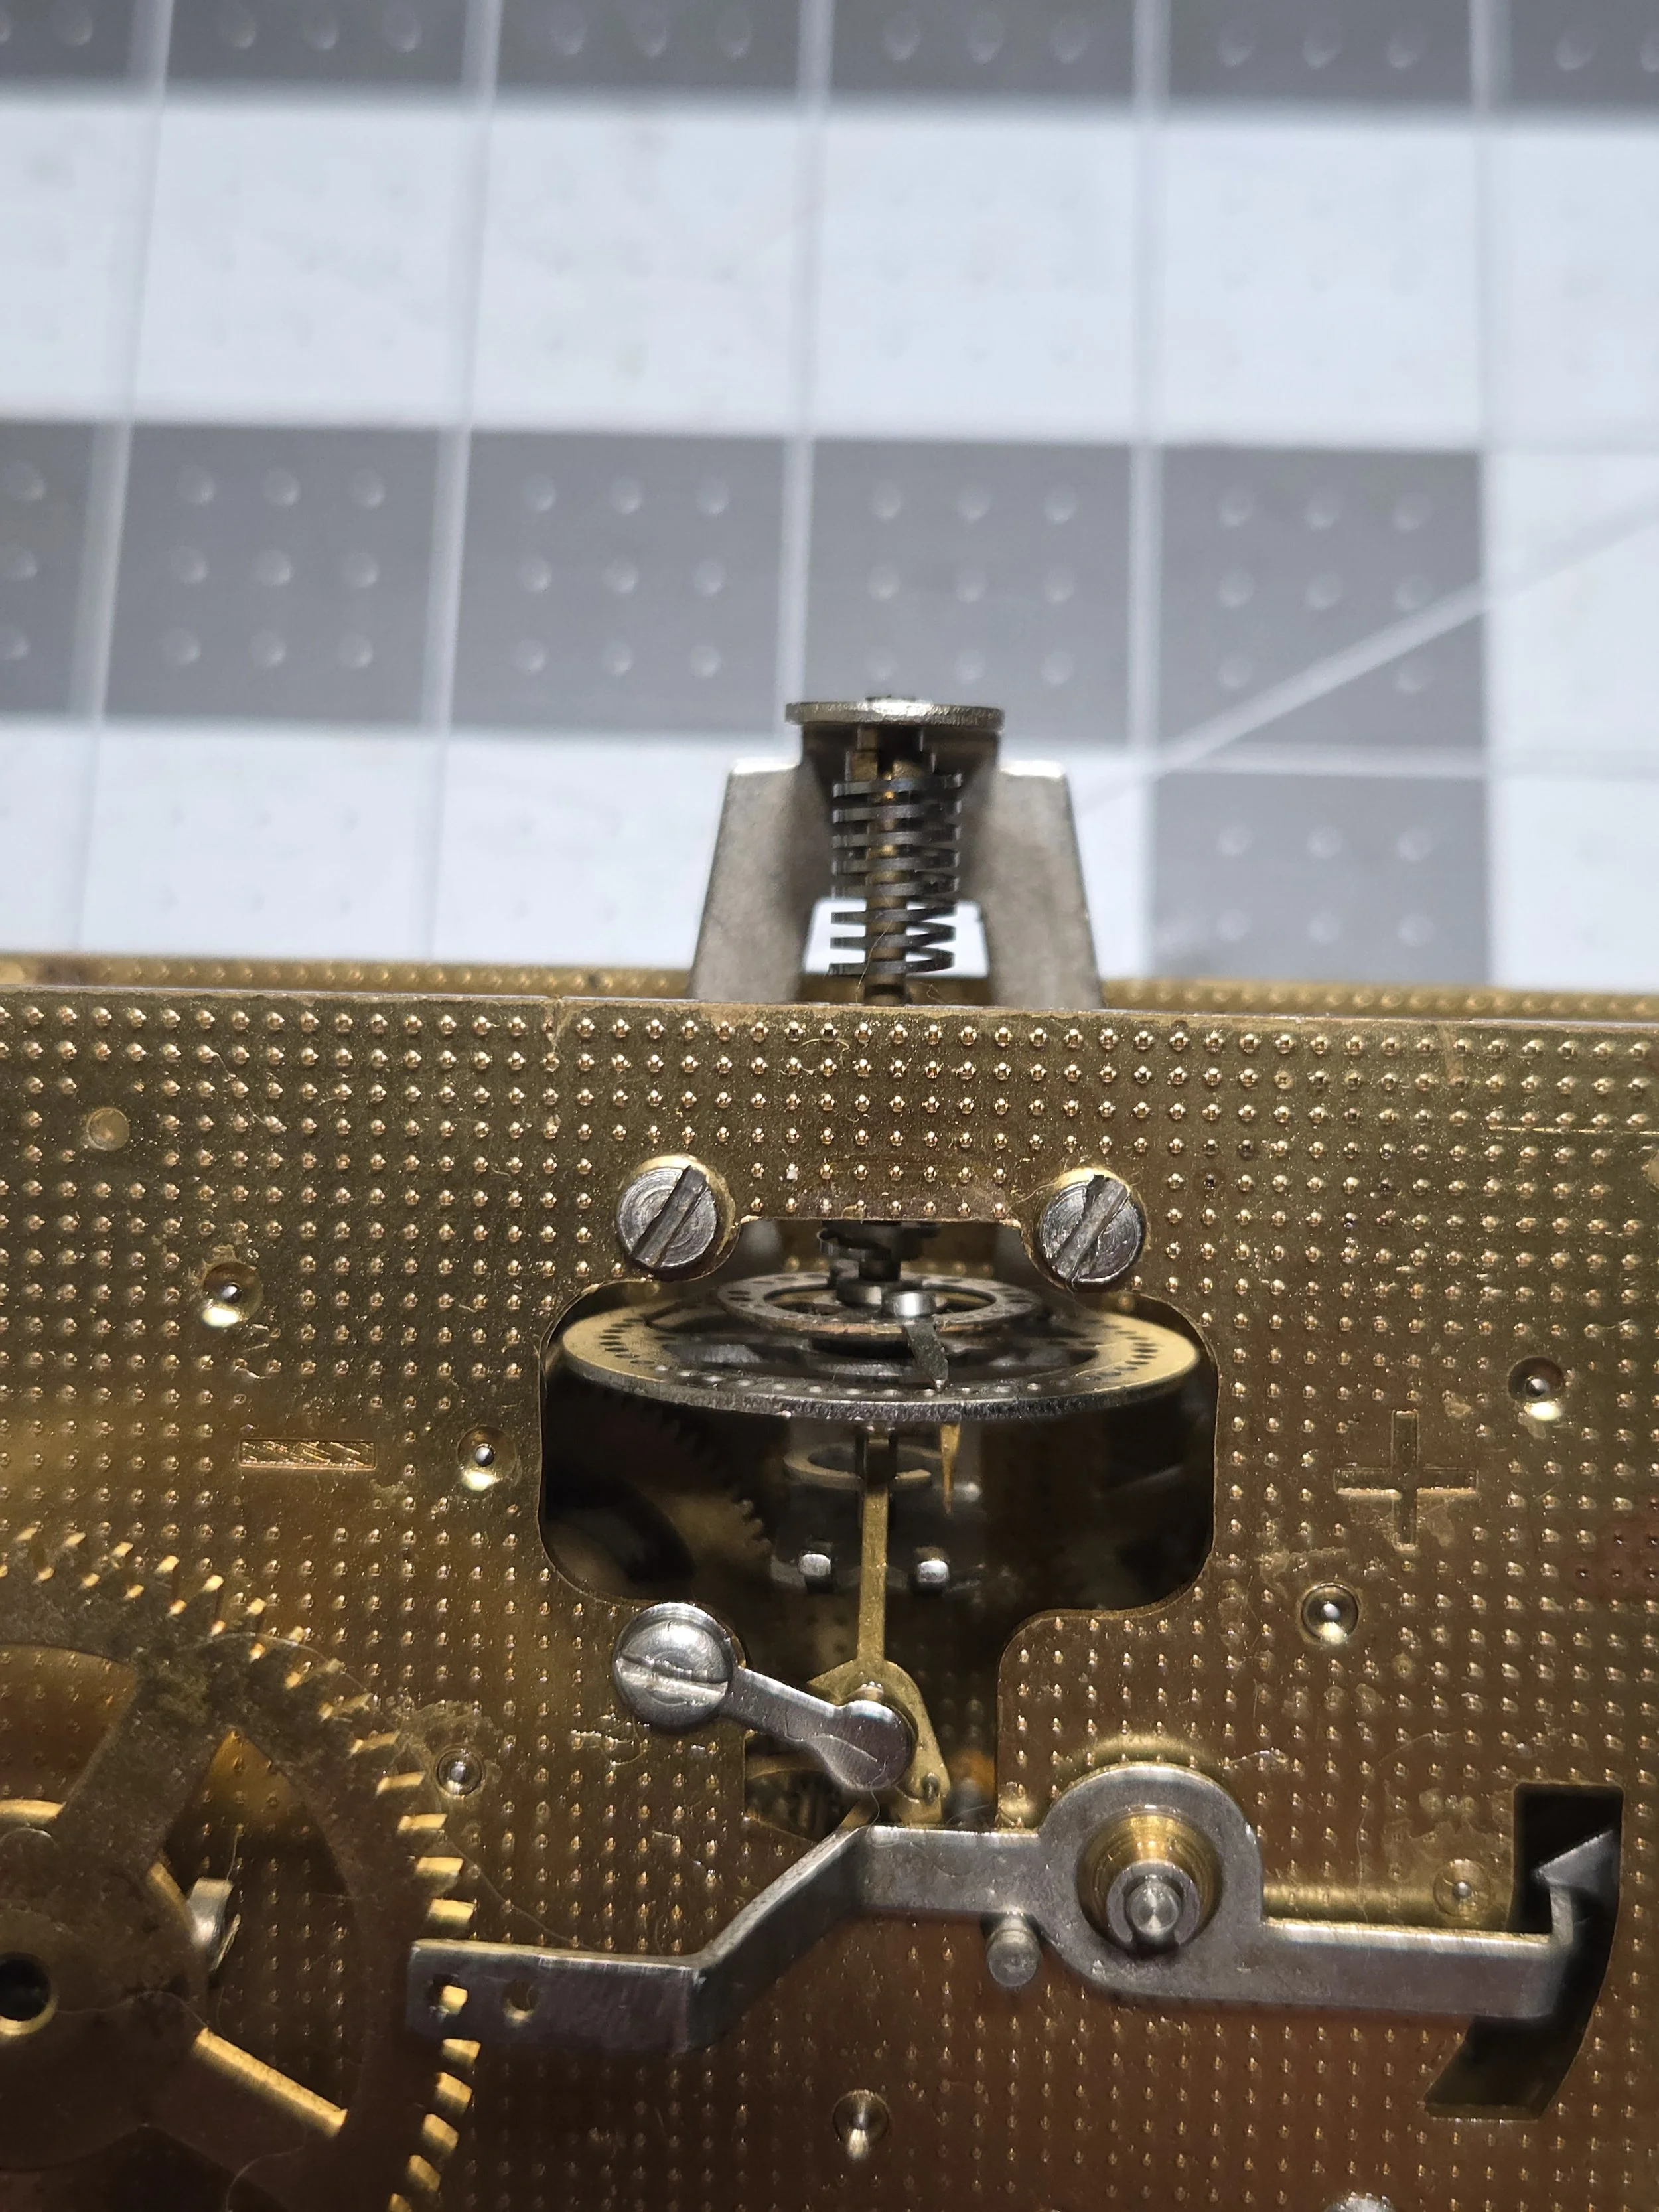
Pendulum or Balance Regulation
Depending on the movement:
Many include a small pendulum bob accessed through the rear door
Some use balance-wheel escapements, adjusted via a rate-control lever on the movement
Identify the regulating method before attempting adjustments.
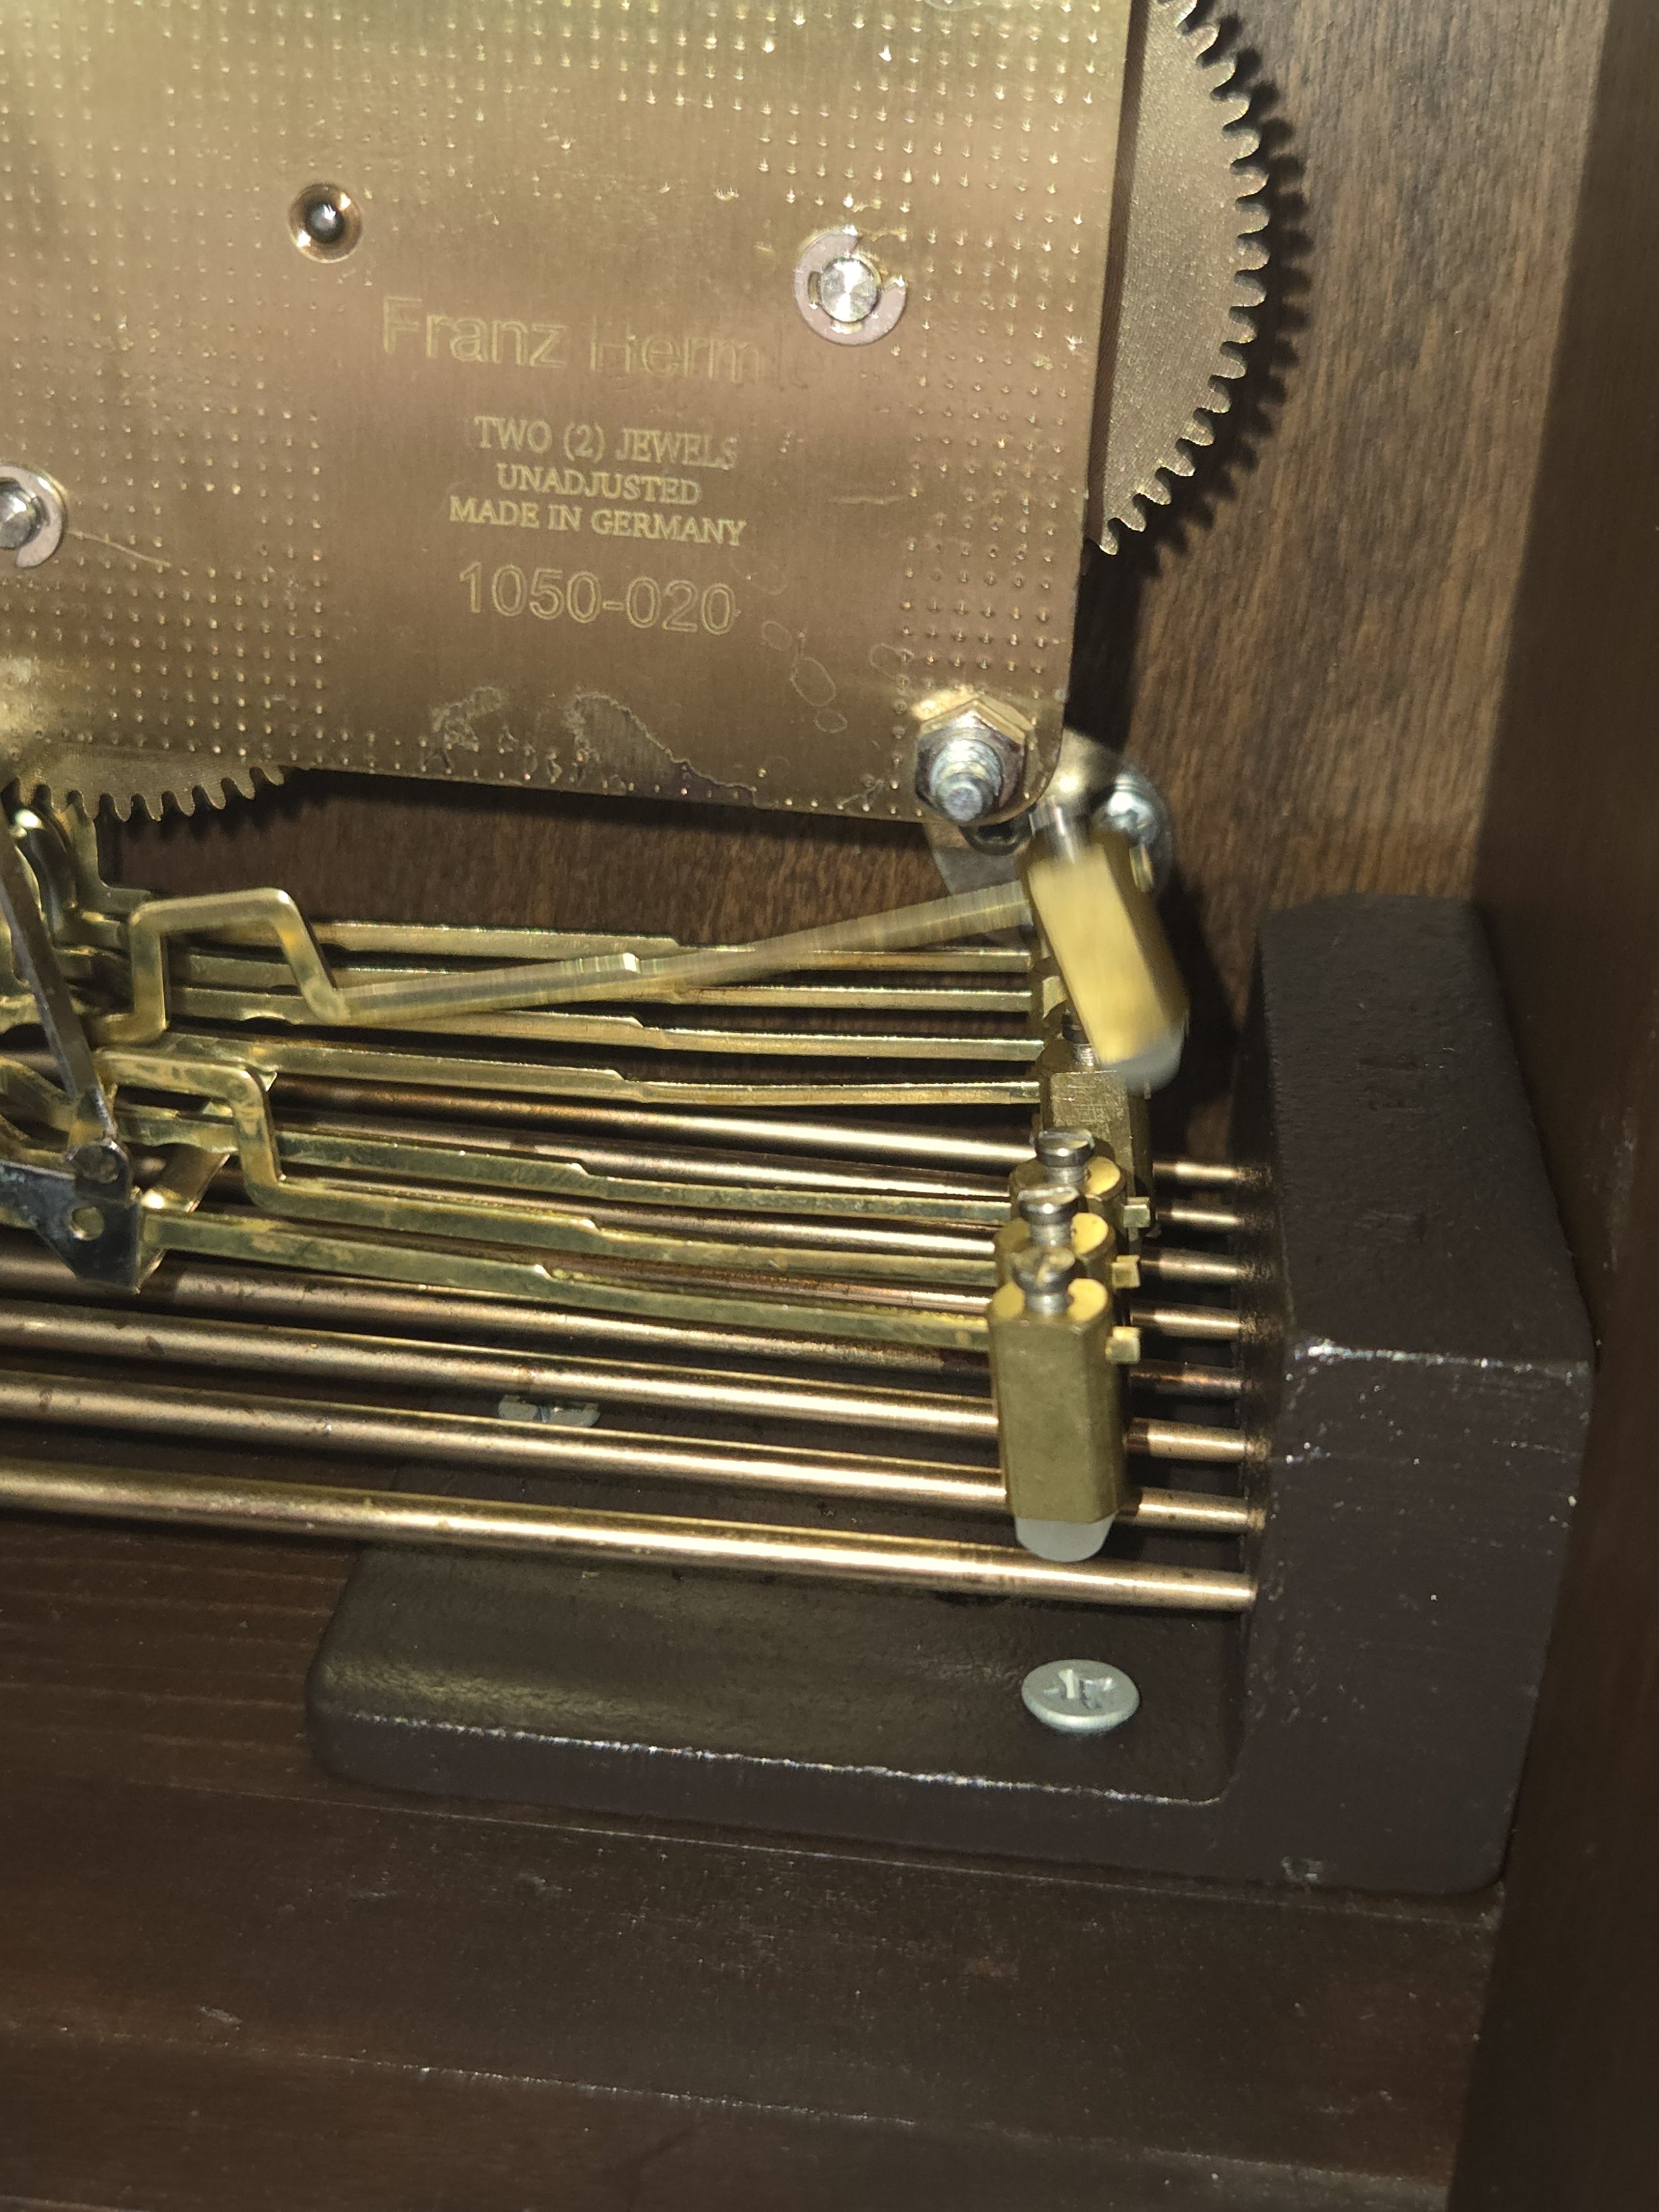
Rod or Coil Gongs
Tambour clocks may feature:
A coiled gong for hour strike
Chime rods for Westminster or other melodies
A hammer system mounted to the backboard or movement bracket
Operational Guide:
Placement & Leveling
Proper positioning ensures even ticking and clean chime tone.
Place the clock on a stable, flat mantel or shelf
Level front-to-back and side-to-side
Ensure the case does not rock or vibrate
If the beat sounds uneven, gently shift the clock left or right until the tick–tock rhythm evens out.
Step 1:
Step 2:
Starting the Clock
For pendulum models:
Hang the pendulum from the suspension hook
Give a gentle side push to start the swing
Adjust case position for proper beat
For balance-wheel clocks:
No pendulum is required; simply wind and set the time.
Winding
Tambour clocks typically have two or three winding arbors:
Right arbor: Time or Chime train
Left arbor: Strike train
Center arbor (if present): Time train
Wind each spring slowly and evenly until resistance increases—do not force.
Step 3:
Setting the Time
Move the minute hand forward only
Pause at each quarter hour if the clock chimes
Allow the chime or strike to complete before continuing
Do not force the hour hand independently; it will move automatically.
Step 4:
Chime & Strike Function
Depending on the model, tambour clocks may:
Chime at quarter hours (Westminster)
Strike the hour count on a gong
Offer strike-silent or chime-silent levers
Many modern clocks self-correct the chime sequence within one full hour if previously stopped.
Step 5:
Regulating Speed
For pendulum models:
Lower bob → Slows time
Raise bob → Speeds time
Make small adjustments (1–2 turns), then check accuracy after 24 hours.
For balance-wheel models:
Use the + / – lever near the escapement
Move the lever slightly toward + for faster time, – for slower
Step 6:
Routine Maintenance
Keep the case free of dust; avoid spray cleaners near the movement
Ensure chime rods or gongs are unobstructed
Wind on the same day each week for consistency
Have the movement cleaned and oiled every 5–10 years
Transport the clock carefully—remove pendulum and secure the gong block before moving