
Pendulum Length Regulation (Rating Nut Adjustment)
Pendulum length regulation is the most common method of time adjustment in mechanical clocks. It is used in the majority of American and European pendulum clocks, including mantel clocks, wall clocks, longcase clocks, regulators, and many presentation clocks.
Timekeeping accuracy is controlled by adjusting the effective length of the pendulum, which directly affects the rate of oscillation. Small changes in length produce measurable changes in timekeeping, making this system both precise and sensitive.
How This Regulating System Controls Time
A pendulum’s period is determined by its length. In practical terms:
Shorter pendulum → faster swing → clock runs fast
Longer pendulum → slower swing → clock runs slow
The regulating nut beneath the pendulum bob allows fine adjustment by raising or lowering the bob along the pendulum rod.
This method regulates time without altering the gear train, making it safe and mechanically efficient when adjusted correctly.
Applicable Clock Types
Pendulum length regulation is found in:
Mantel clocks
Wall clocks
Longcase (grandfather/grandmother) clocks
Regulator clocks
Some American carriage clocks with pendulums
This method does not apply to balance-wheel or torsion clocks.
Adjustment Points
The primary adjustment point is:
The rating nut, located at the bottom of the pendulum bob
Some clocks may include:
A decorative cover over the nut
A secondary fine-adjustment dial linked to the pendulum (less common)
Case Clearance
The pendulum must swing freely without touching the case, back panel, or internal components. Inadequate clearance can cause erratic timekeeping or stopping. Always confirm equal side-to-side and sufficient front-to-back clearance before regulating.
Step-by-Step Regulation Procedure
Step 1: Confirm the Clock Is Fully Wound
Always regulate a clock that is:
Fully wound
In proper beat
Level and securely placed
Regulating an underpowered or out-of-beat clock produces false results.
Step 2: Determine the Direction of Error
Allow the clock to run for at least 24 hours and determine whether it is:
Running fast (gaining time)
Running slow (losing time)
Document the amount of error before making adjustments.
Step 3: Make the Adjustment
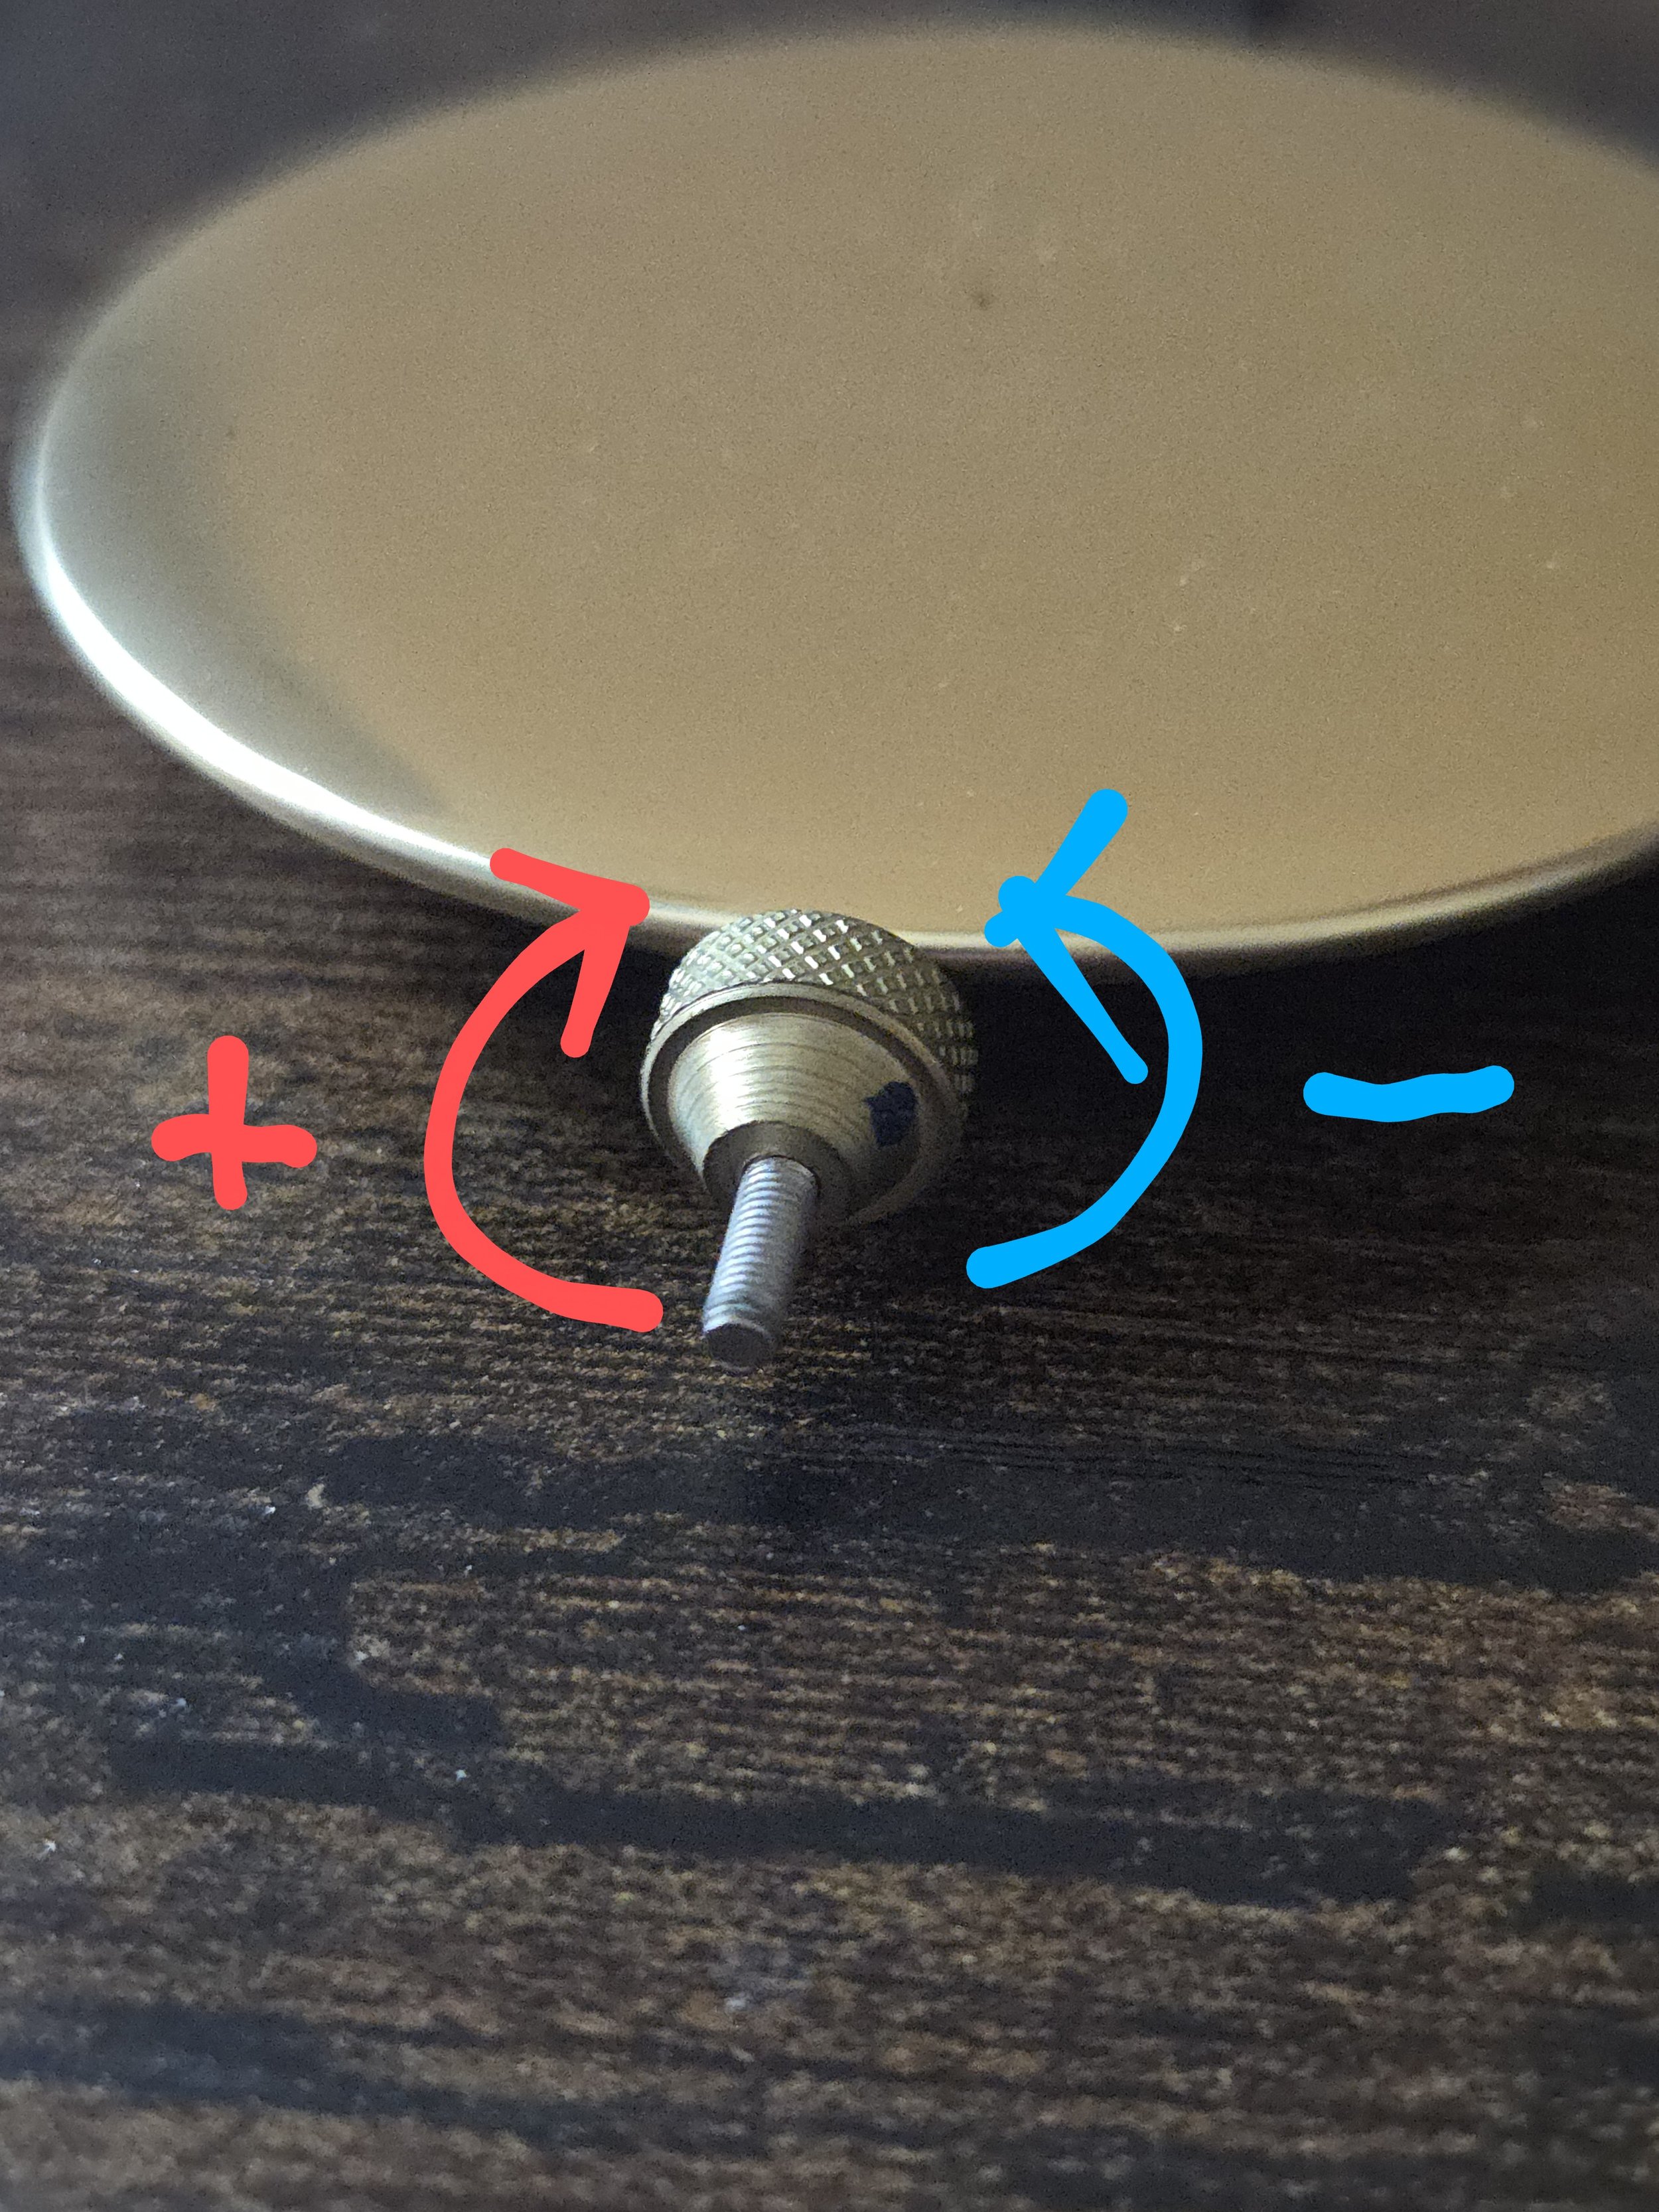
Using your fingers or needle nose pliers:
To slow the clock: turn the rating nut downward (lower the bob)
To speed up the clock: turn the rating nut upward (raise the bob)
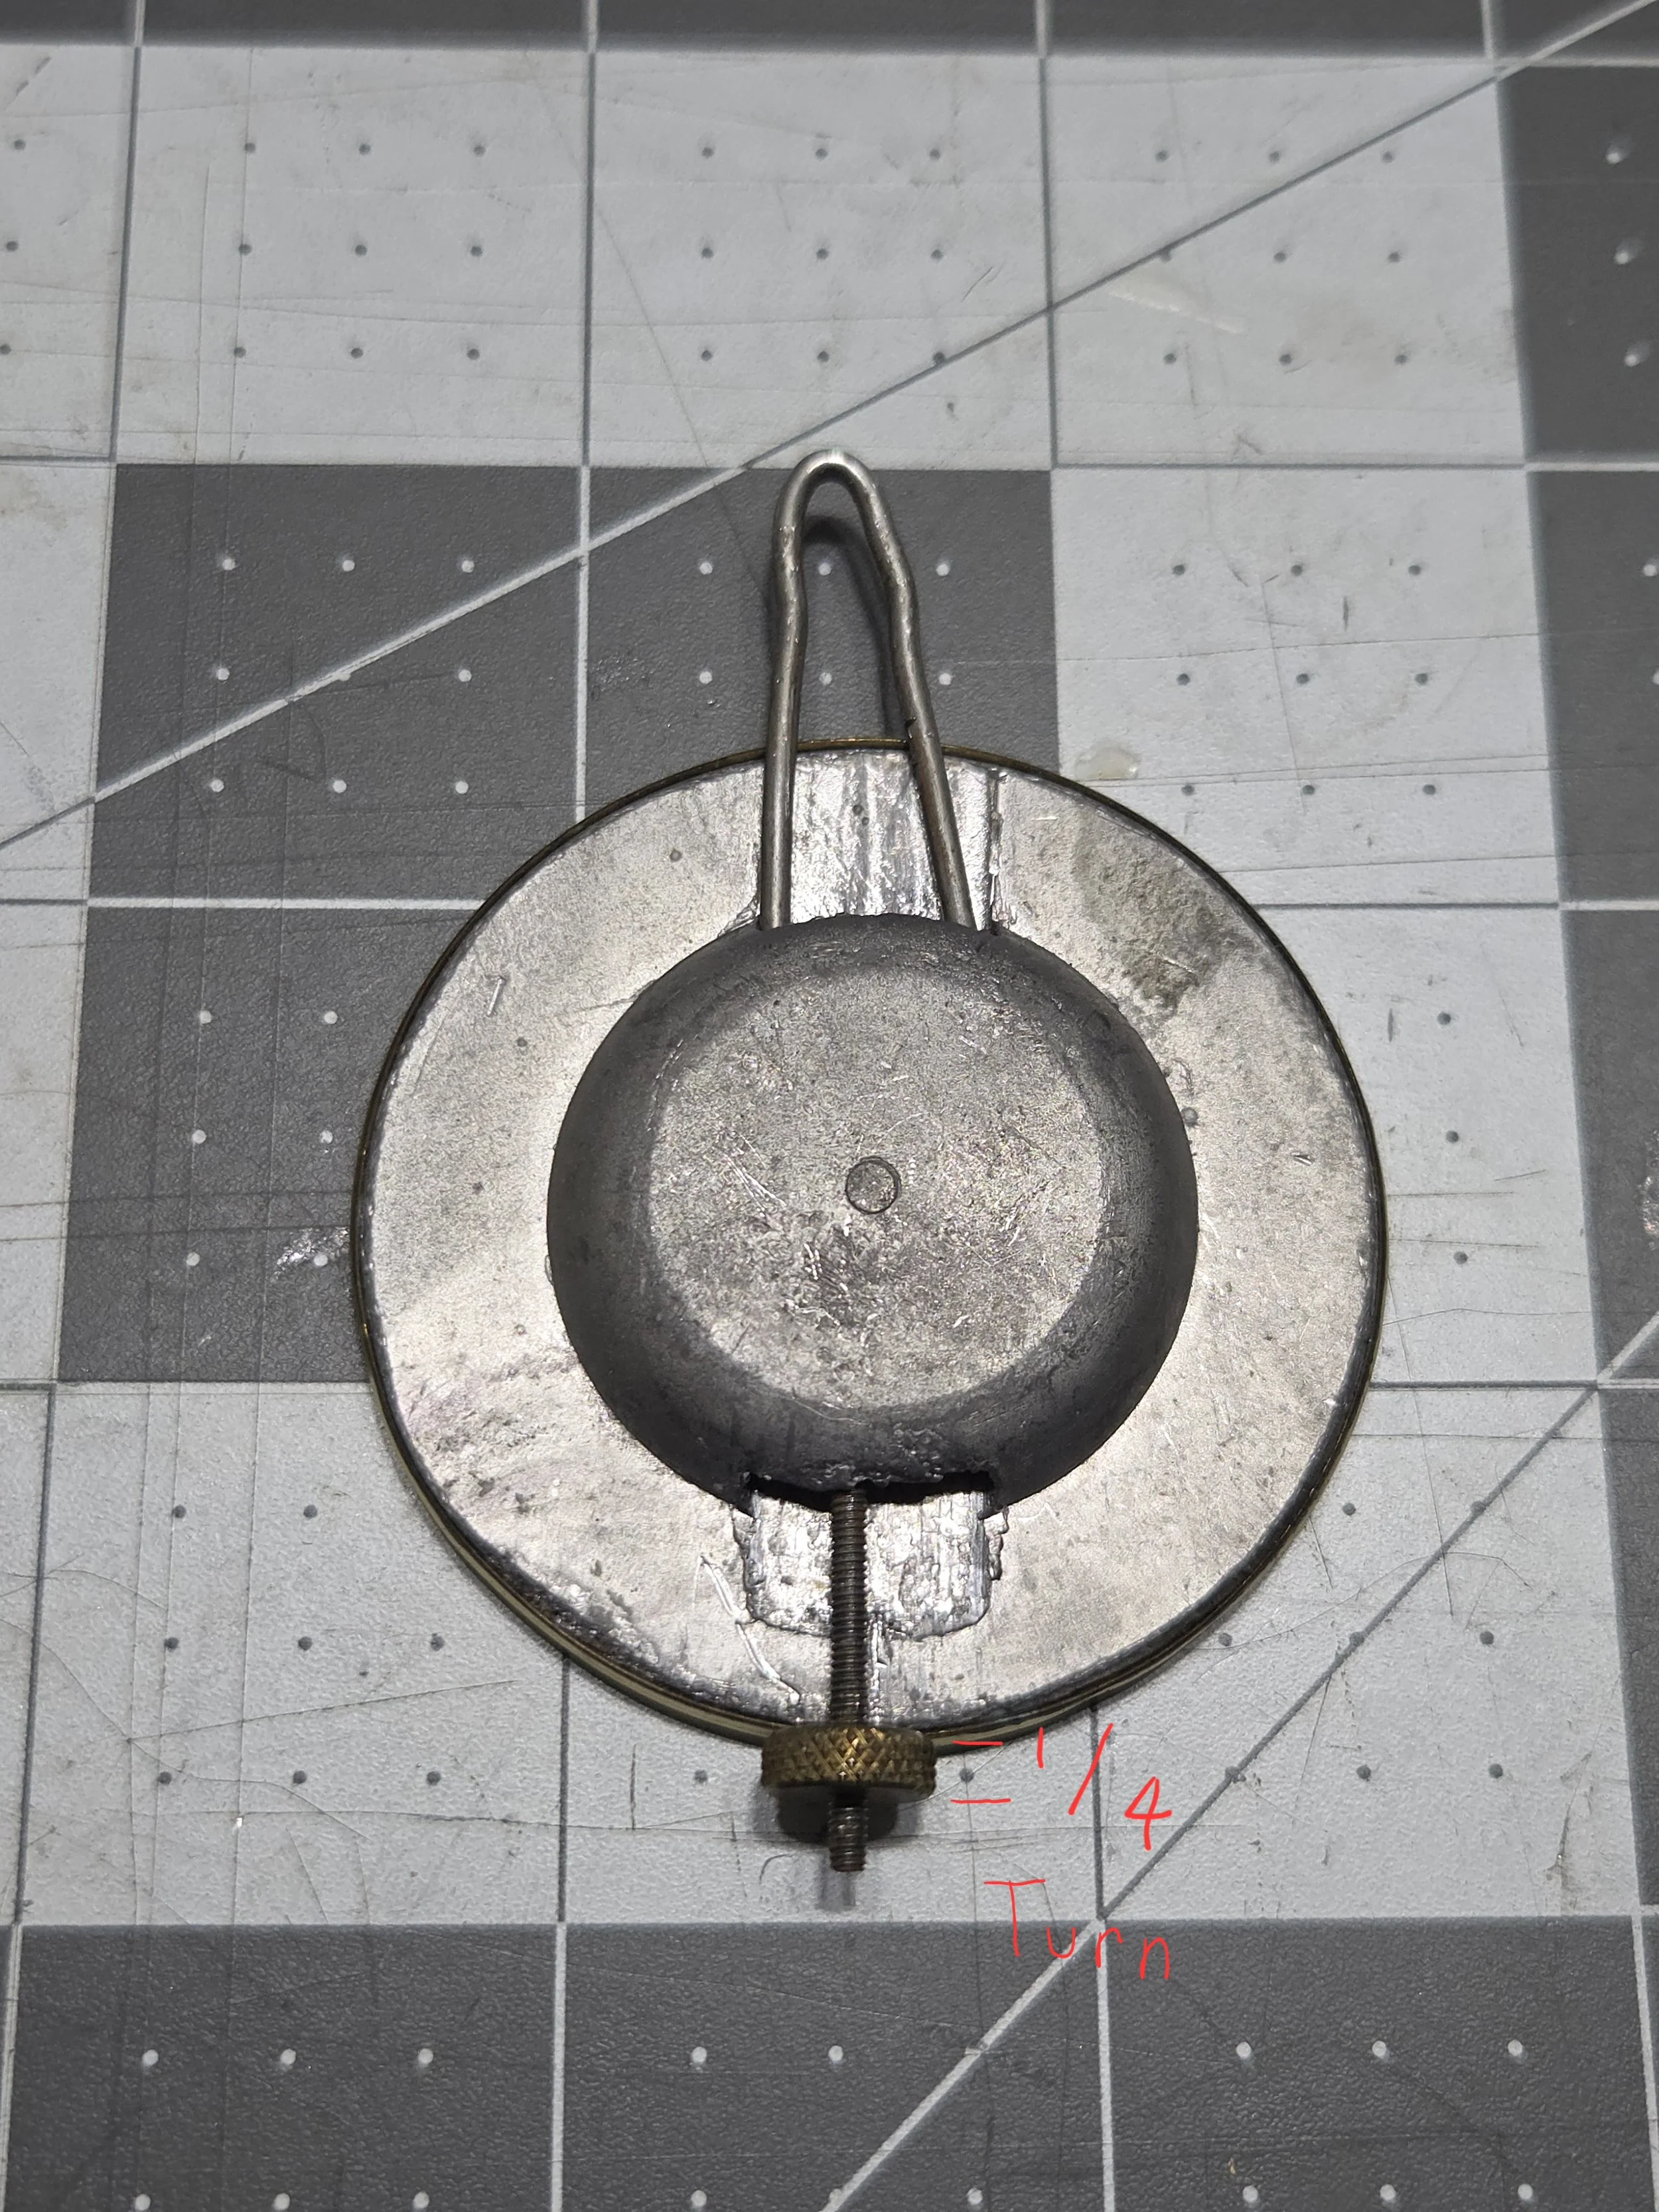
Make adjustments in small increments only:
Typical adjustment: ⅛ to ¼ turn
Never make large corrections all at once
Step 4: Allow Time to Stabilize
After adjustment:
Restart the pendulum if stopped
Allow the clock to run 24 hours
Re-check accuracy before adjusting again
Pendulum clocks respond gradually; over-adjustment is a common mistake.
Common Mistakes & Warnings
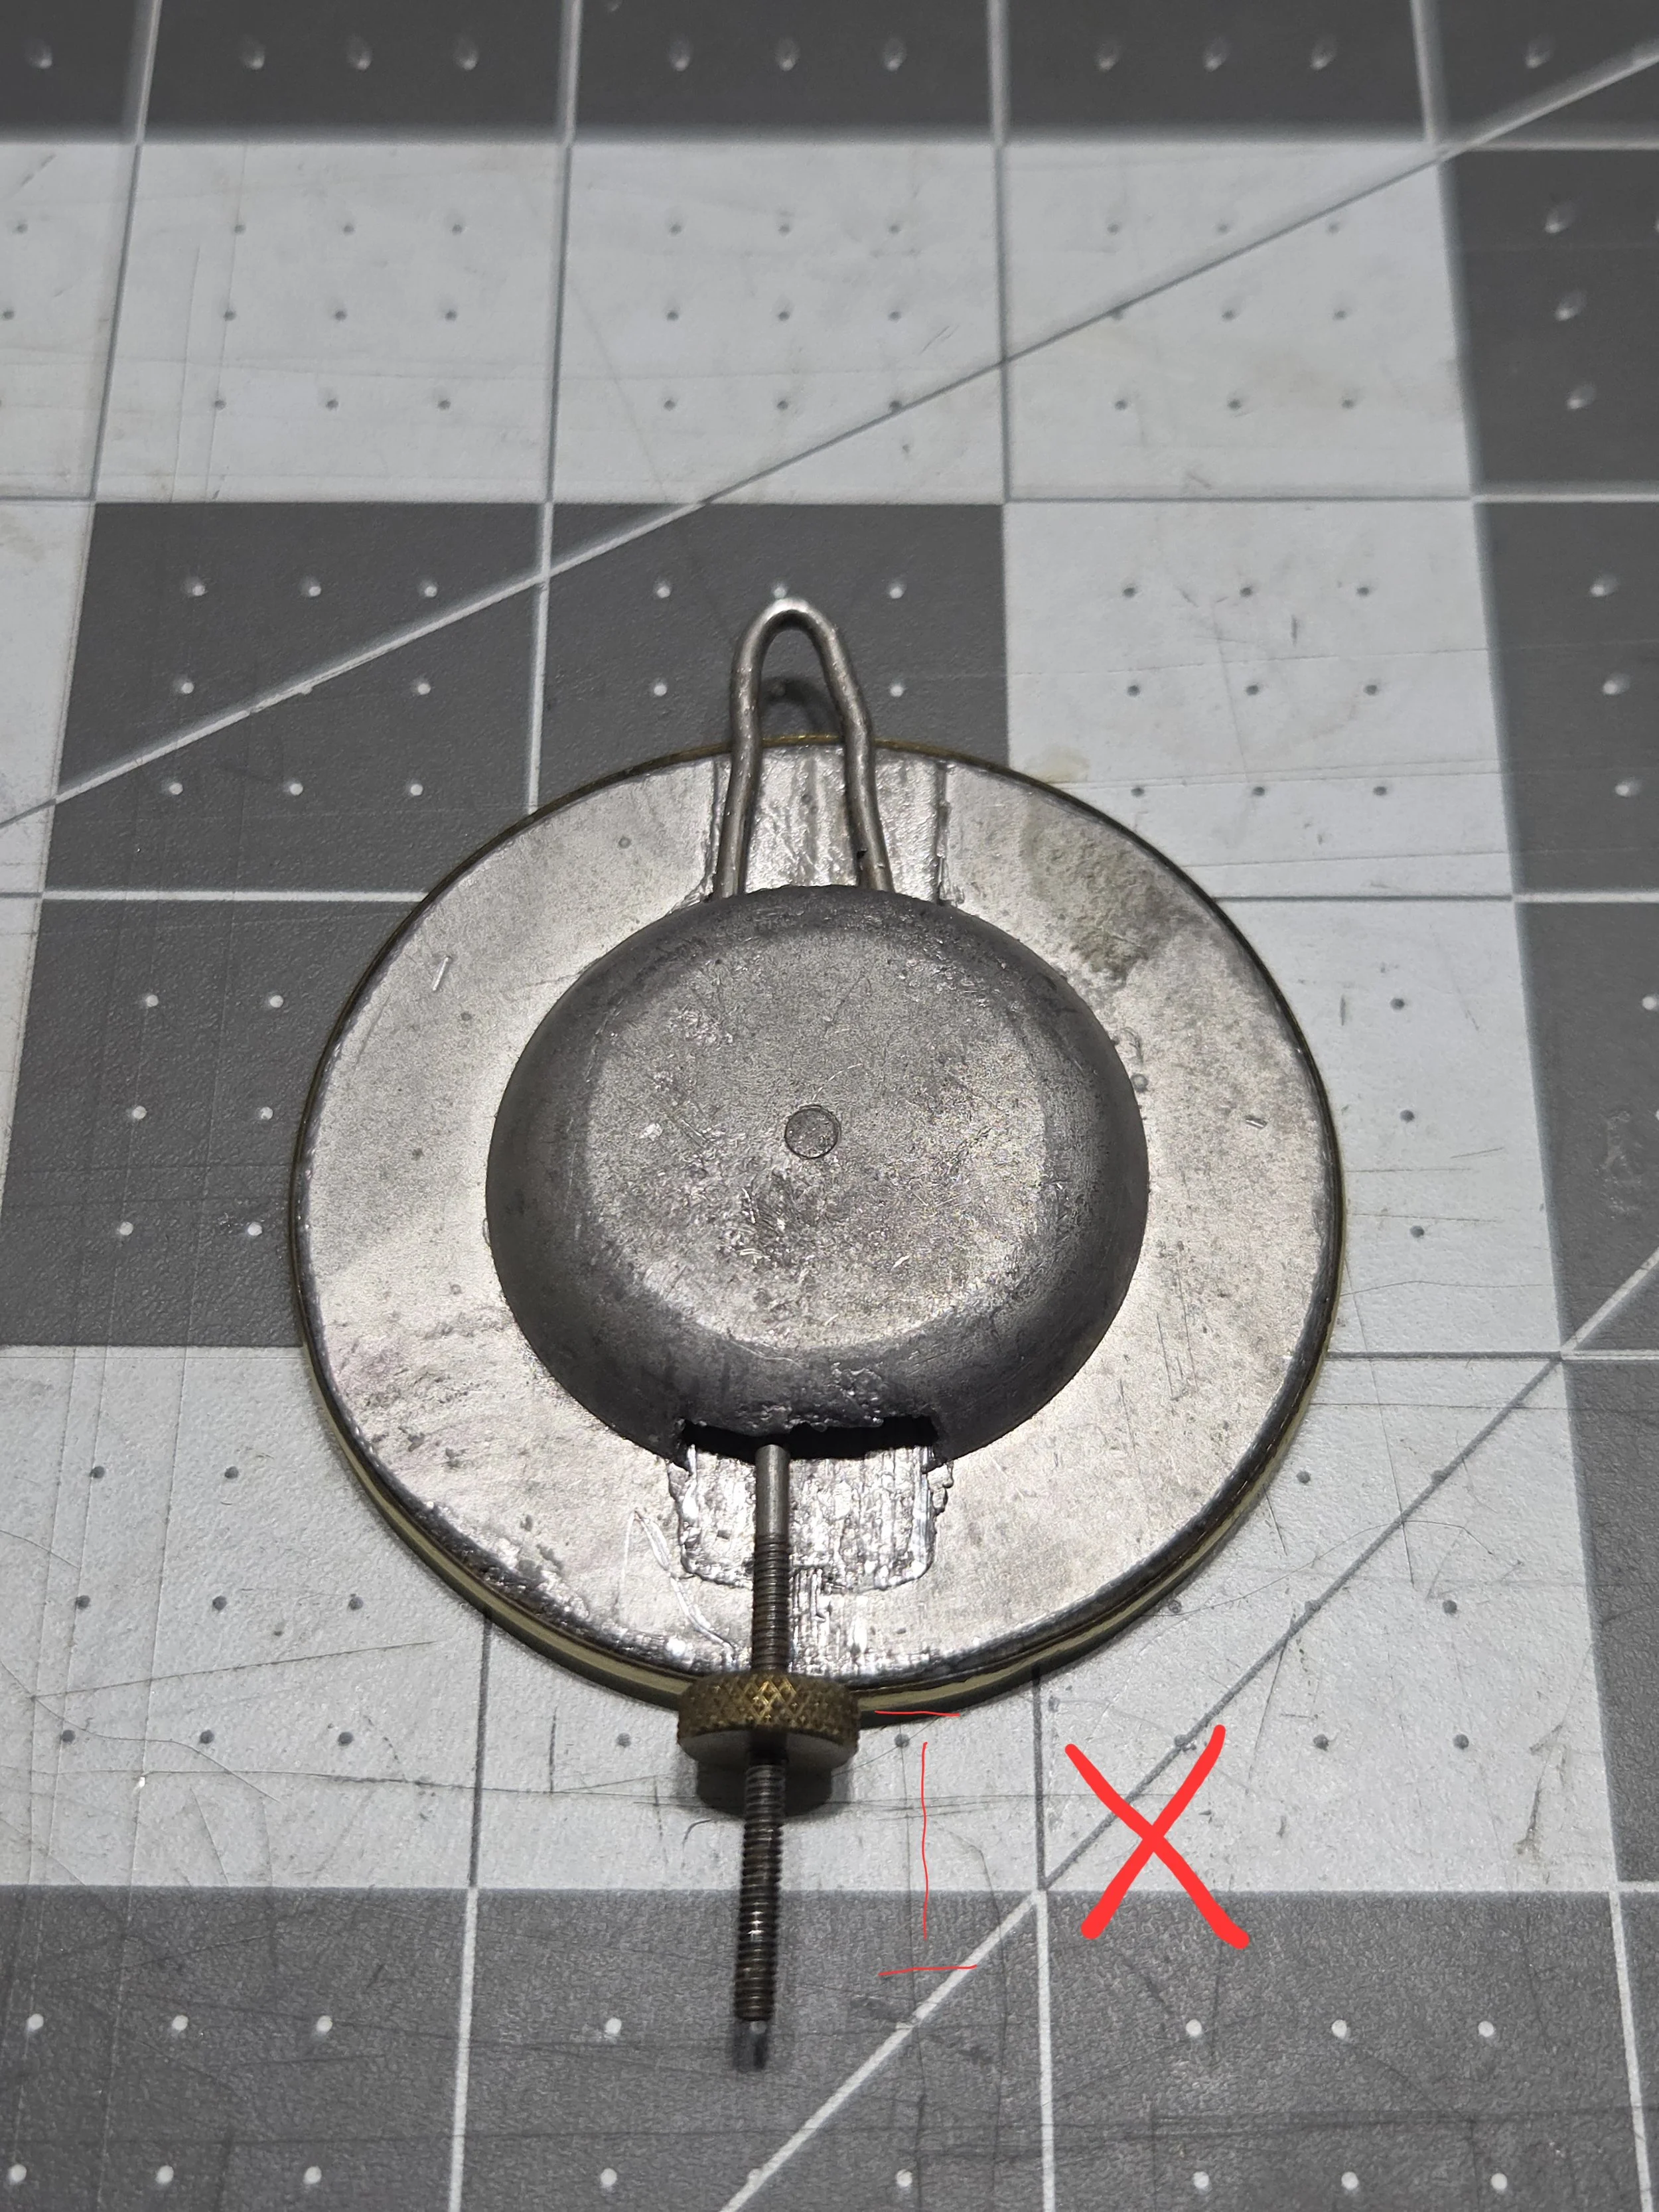
❌ Turning the nut too far at once
❌ Regulating before confirming proper beat
❌ Adjusting a clock that is not fully wound
❌ Attempting to regulate a clock affected by drafts or vibration
Temperature changes can temporarily affect rate; allow the clock to acclimate before regulating
When to Stop & Call a Technician
Stop regulating and consult a technician if:
The clock will not respond to adjustment
The pendulum nut reaches its limit
The clock runs erratically despite proper beat
The pendulum rubs or contacts the case
These may indicate wear, suspension issues, or escapement problems.